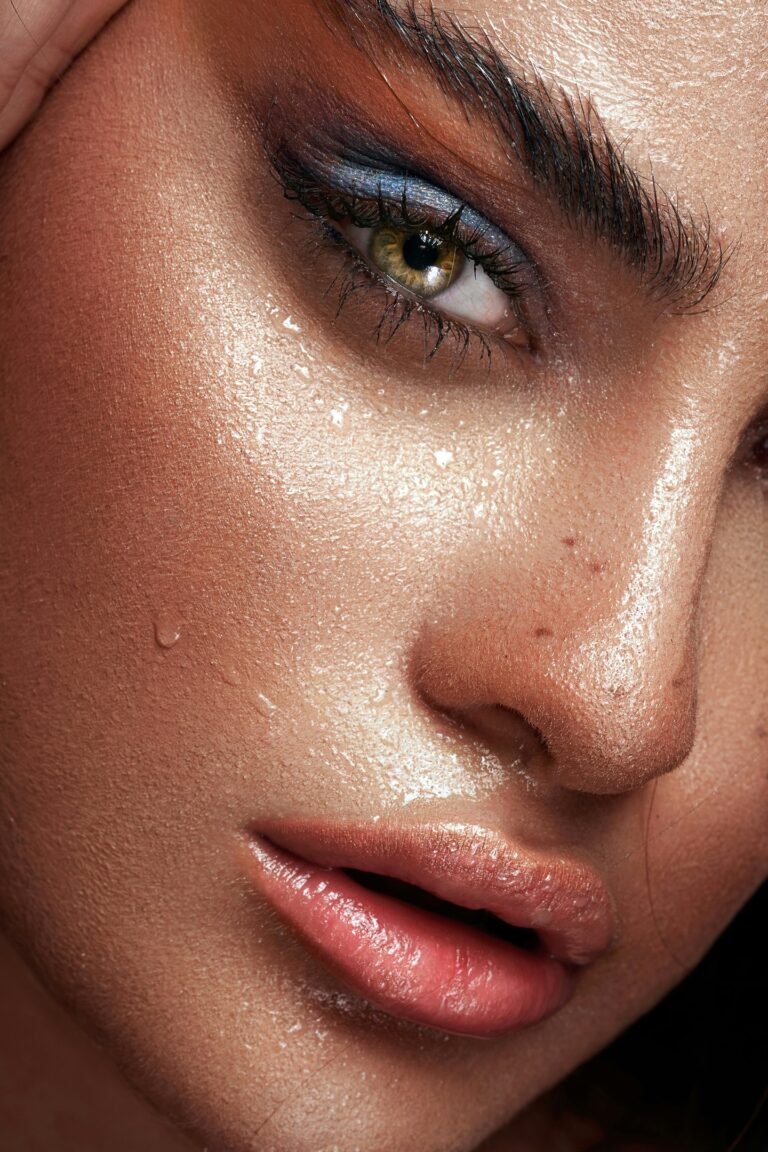

Step 1: Calm It Down First
Before you even touch foundation, think skin first.
When your skin is inflamed, irritated, or dry around a breakout, foundation will cling to every flake and bump. So before you go in with makeup:
-
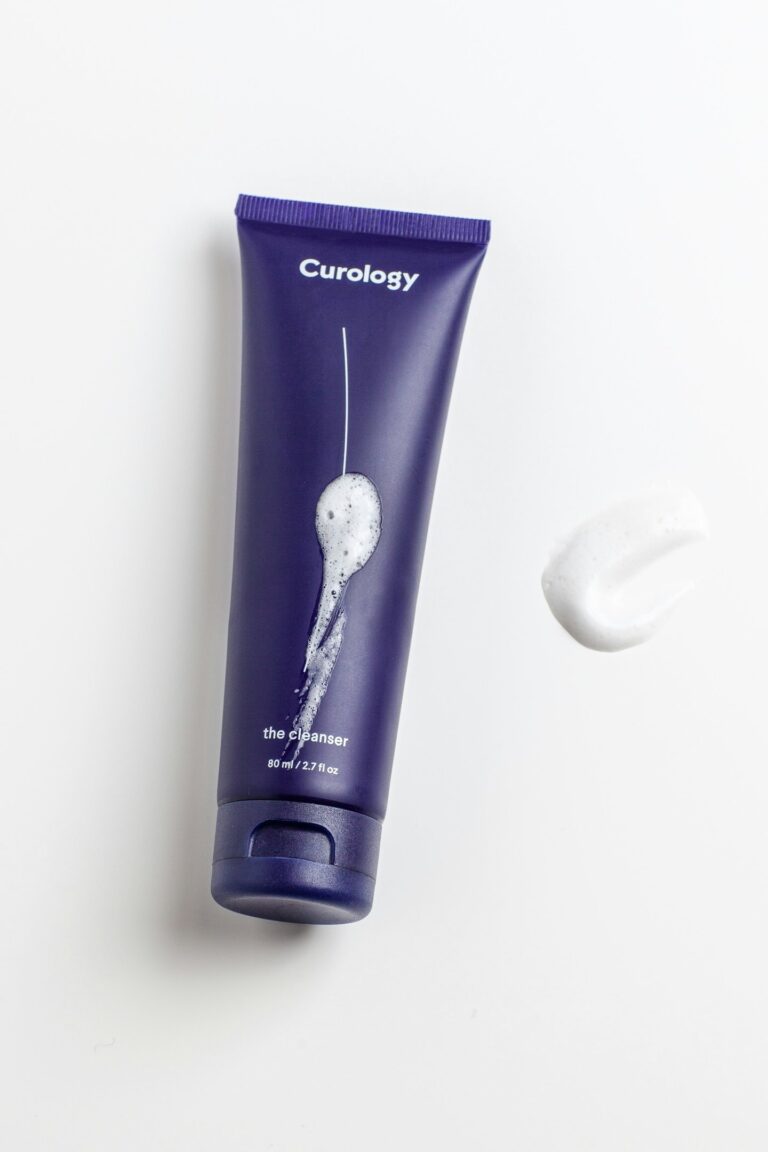
Cleanse gently (skip harsh foaming cleansers)
-
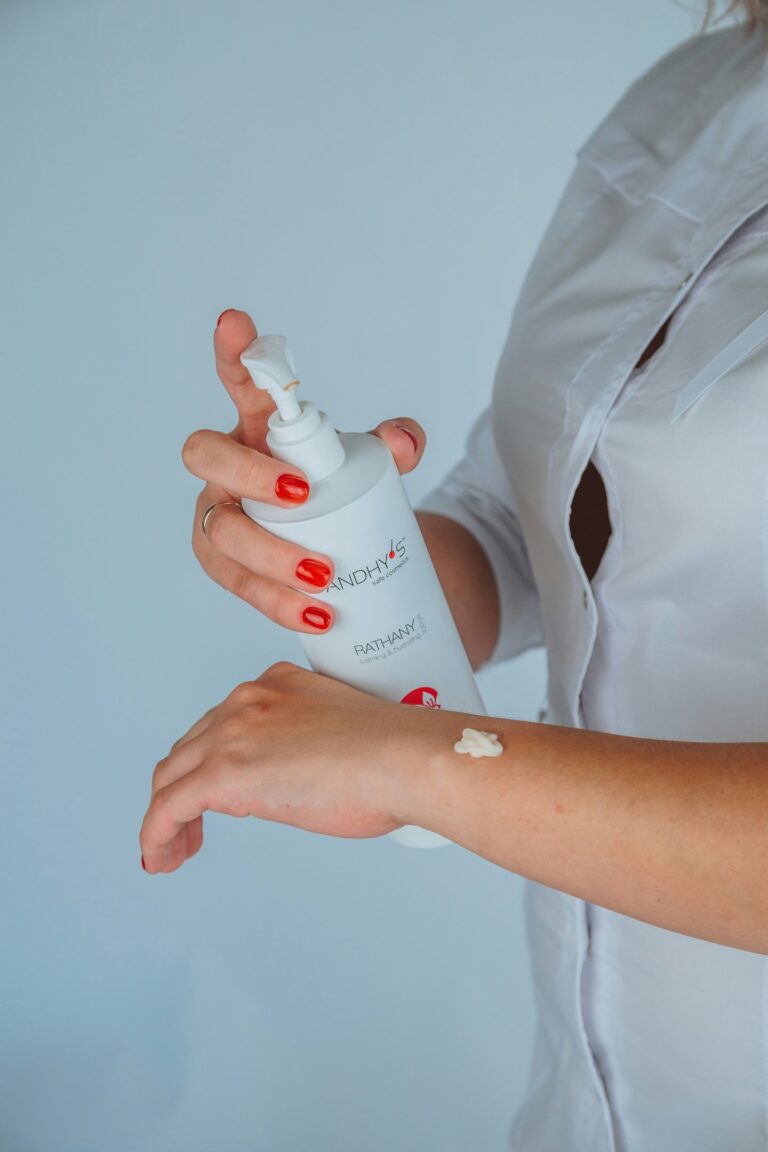
Apply a calming serum with soothing ingredients
-
Moisturize — yes, even oily skin needs it!
-
Dab on a spot treatment if needed, but avoid over-drying
Try: a lightweight calming moisturizer that won’t clog pores.
Try: a hydrating serum with niacinamide to soothe redness.
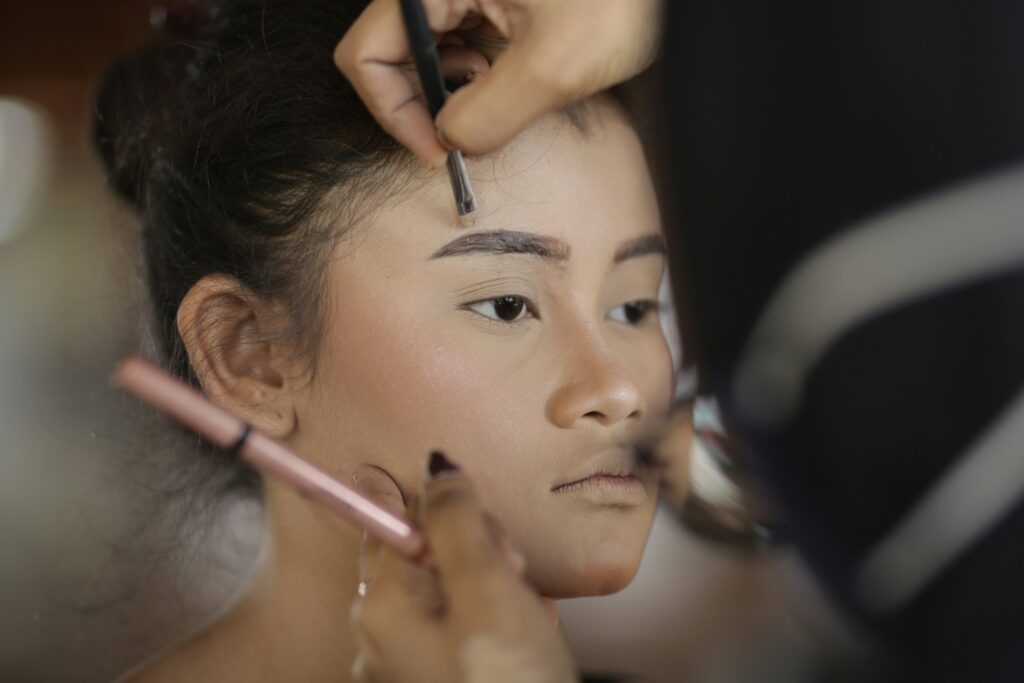
Step 2: Use the Right Primer (or None)
Primers can help blur texture and create a smooth base, but not all are great for acne-prone skin. Look for ones that are:
-
Oil-free
-
Non-comedogenic
-
Smoothing, not drying
If you’re dry or flaky, go for a hydrating primer. If you’re oily, try a mattifying primer just in the T-zone.
That said — if your skincare is on point, you might be able to skip primer altogether.
Try: a silicone-based primer that blurs pores without suffocating your skin.
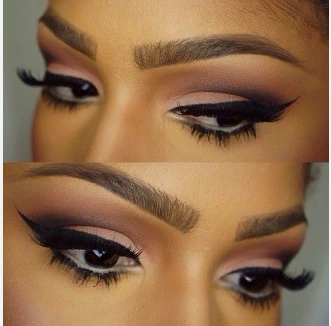
Step 3: Choose the Right Foundation Formula
This is where most people go wrong.
When trying to cover acne, the instinct is to reach for full coverage. But full coverage can often look heavy and accentuate texture — especially if it dries down too matte.
Instead, try this:
-
Choose a medium coverage foundation that builds well
-
Go for a natural or satin finish — not too dewy, not too flat
-
Avoid thick, moussey textures that can cake easily
Try: a lightweight foundation that evens out tone without masking your skin.
Bonus tip: If you only need coverage in certain areas, consider using a skin tint + concealer combo instead of foundation everywhere.
Step 4: Spot Conceal Like a Pro
This step is key. Use a small, precise concealer brush and work with a high-pigment concealer that matches your foundation shade exactly.
Here’s the trick:
-
Dot concealer on top of the blemish.
-
Let it sit for 30–60 seconds (this helps it thicken).
-
Lightly tap to blend the edges with your brush or finger.
-
If needed, add a second layer just on the center of the blemish.
Avoid dragging or smearing — that just moves product around.
Try: a full-coverage but creamy concealer that stays put.
Step 5: Don’t Overload Powder
Too much powder = texture city.
You only need powder in areas where:
-
You get shiny (T-zone)
-
You concealed blemishes and want it to last
-
You need to blur pores
Use a fluffy brush or damp sponge to tap (not swipe) powder where needed. Skip baking — it’ll emphasize any dry patches.
Try: a finely milled translucent powder that blurs without buildup.
Step 6: Use the Right Tools
The tools you use can make or break your base.
-
Use a damp sponge for smooth, even blending without streaks.
-
A small concealer brush helps target spots precisely.
-
Clean your tools regularly — brushes and sponges can harbor bacteria, which won’t help your skin.
Try: a soft, latex-free makeup sponge for seamless blending.
Step 7: Add Color Back
When you cover acne, especially with more coverage than usual, your face can start to look flat. So:
-
Use a light hand with blush and bronzer to add natural dimension.
-
Choose cream formulas if you want a fresh, skin-like finish.
Just don’t overdo it — too many layers = cakey territory again.
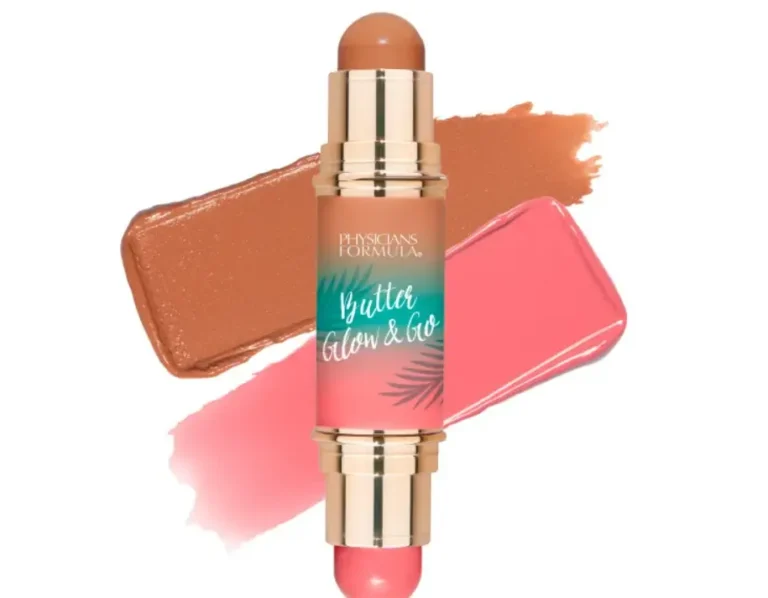
Try: a cream blush that blends into the skin like a tint.
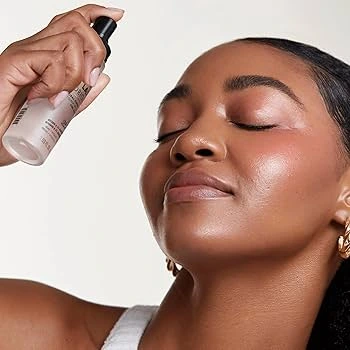
Step 8: Set It (Lightly)
A light mist of setting spray will help everything melt together — and extend your wear time.
If your skin’s on the oily side, look for a setting spray with oil control. If you’re dry or flaking, pick a hydrating one instead.
Try: a long-lasting setting mist that locks in your look without feeling sticky.
Step 9: Bonus Tips for the Day Ahead
Once your makeup is on, here’s how to keep it looking fresh:
-
Blot, don’t re-powder — use blotting sheets if you get shiny.
-
Touch up with concealer, not more foundation.
-
Carry a tiny concealer stick in your bag for on-the-go fixes.
Also: if a breakout starts to peek through later in the day, it’s okay! Skin isn’t meant to be flawless 24/7 — you’re still glowing.
Final Thoughts
Acne is normal — but if you want to wear makeup to feel more confident, go for it. The goal isn’t to hide your skin completely; it’s to enhance what you love and gently cover what you don’t.
And remember: skin texture is real. Pores are normal. No one’s face is airbrushed in real life.