☁️ What Is Setting Powder, Really?
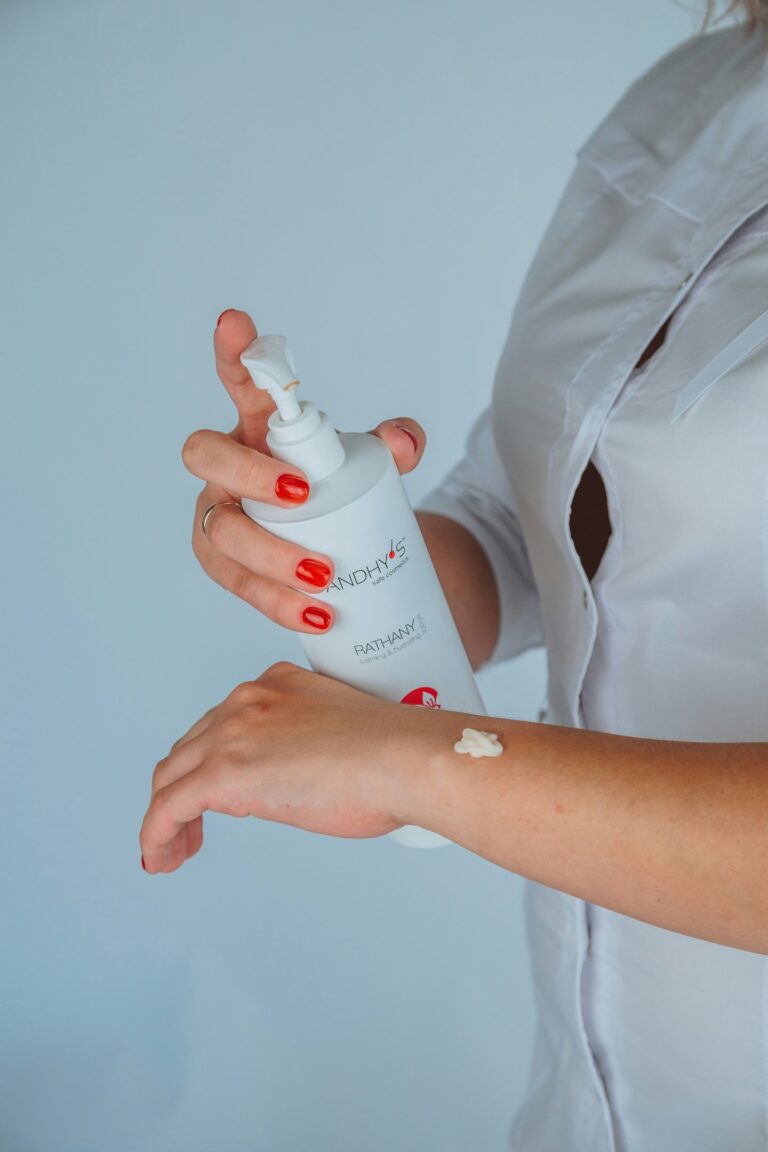
Setting powder is used to “set” your liquid or cream makeup — foundation, concealer, even cream blush — so it doesn’t move, crease, or fade throughout the day.
It can:
-
Absorb excess oil
-
Prevent creasing and settling into fine lines
-
Give a soft-focus finish
-
Extend wear time
Think of it like the top coat on your nails — it seals everything in.
💡 Do You Need It?
Not always, but probably yes if:
-
Your concealer creases under your eyes
-
Your foundation gets shiny or melts by lunchtime
-
You wear cream products and want to make them last
-
You like a matte or filtered finish
You can skip it if:
-
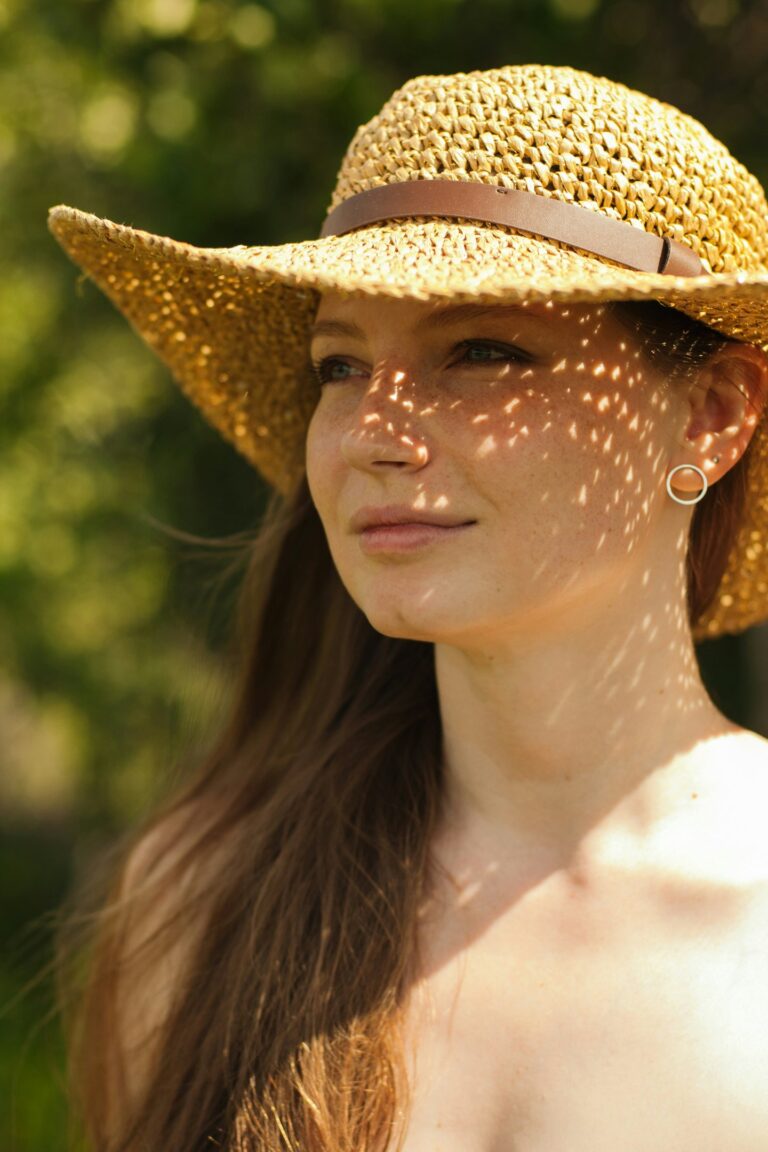
You have very dry or mature skin and prefer a dewy look
-
You’re doing a no-makeup makeup look
-
You’re wearing a long-wear, matte foundation already
🔍 Loose vs. Pressed Powder: What’s the Difference?
Here’s a quick breakdown:
Loose Powder
-
Finely milled, lightweight
-
Great for setting all over or baking
-
Tends to be more natural and breathable
-
Messier but smoother
★ Try: this featherlight loose powder that blurs without drying.
Pressed Powder
-
More compact, great for on-the-go touch-ups
-
Less messy, more travel-friendly
-
Easier to apply in targeted areas
★ Try: this matte pressed powder that keeps shine away without getting cakey.
🖌️ How to Apply Setting Powder (Without Going Full Chalk)
Here’s how to get that soft-set finish without ruining your glow:
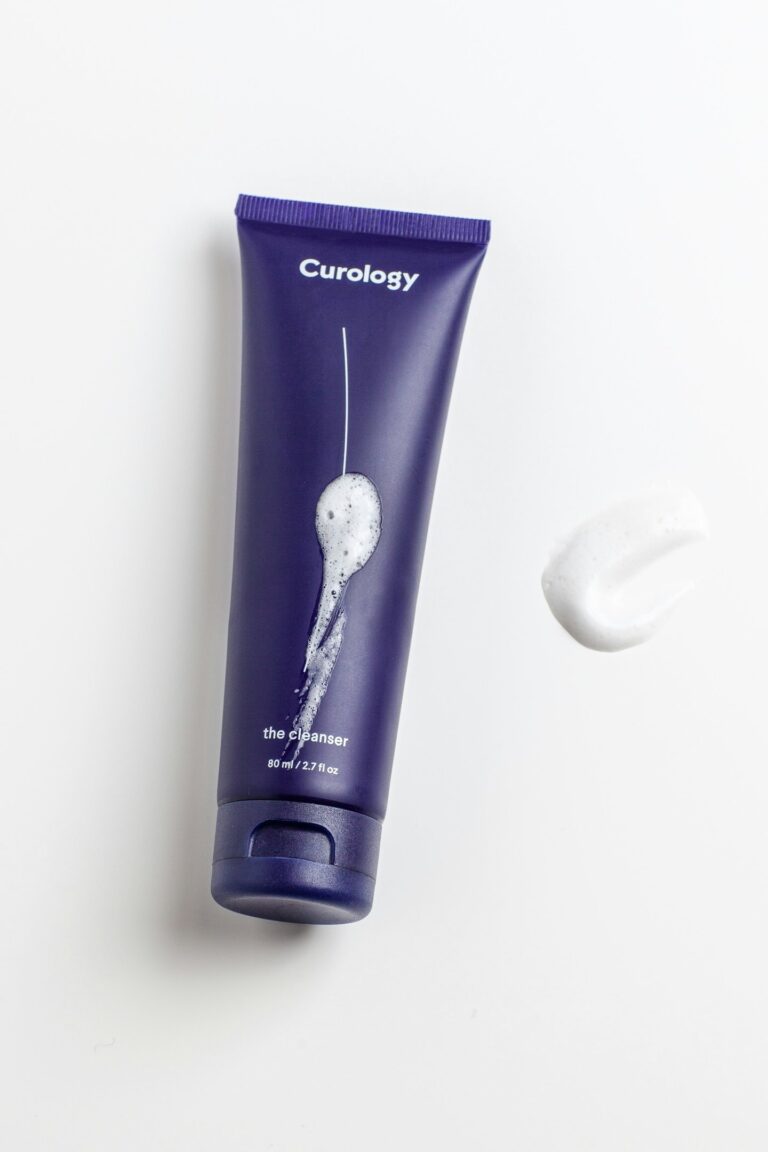
1. Apply Your Liquid/Cream Products First
Make sure foundation, concealer, blush, etc., are blended well.
2. Choose the Right Tool
-
Use a damp makeup sponge for under eyes and precision
-
Use a fluffy powder brush for all-over setting
-
Use a puff (velour ones are magic) if you want a flawless, long-lasting finish
★ Try: this blending sponge that melts powder into skin like butter.
3. Tap Off Excess Powder
Don’t dunk your brush in like you’re baking a cake. Lightly tap off the excess and press, don’t swipe.
4. Focus on Oil-Prone or Creasy Areas
T-zone, under eyes, sides of the nose, and around the mouth.
★ Try: this brightening setting powder made specifically for under-eyes.
🧼 What About Baking?
“Baking” is where you apply a thick layer of powder (usually under the eyes or jawline), let it sit, and then dust off the excess.
It’s great for:
-
Extra long wear
-
Brightening under the eyes
-
Contour definition
But warning: it’s not for everyone — especially dry or textured skin.
Use a hydrating concealer underneath and go easy on the powder if you’re going to bake.
🔥 How Much Powder Is Too Much?
You don’t need to set your entire face with powder unless you’re going full glam or know you’ll be out all day in heat/humidity.
Use a light touch and set only where you need it:
-
Under eyes
-
Around the nose
-
Forehead (if oily)
-
Chin
★ Try: this microfine translucent powder that works on all skin tones without flashback.
❌ Setting Powder Mistakes to Avoid
-
Too much product. Start with a small amount and build if needed.
-
Wrong shade. Use translucent or match your tone — avoid anything too pale or pinkish.
-
Skipping moisturizer. Powder clings to dry spots, so prep your base well.
-
Mixing textures poorly. Matte foundation + matte powder = flat skin. Mix it up!
✨ Final Tips for That Soft, Blurred Finish
-
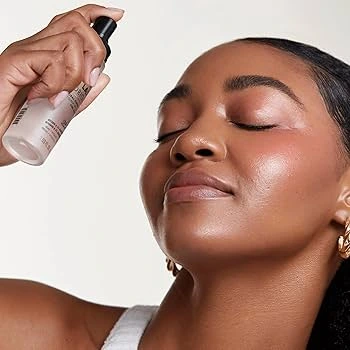
Spray your face with a hydrating setting spray after powder to melt everything together
-
Use powder only where you need it — precision is prettier than full-face matte
-
Test your powder in natural light — no surprise flashbacks please!
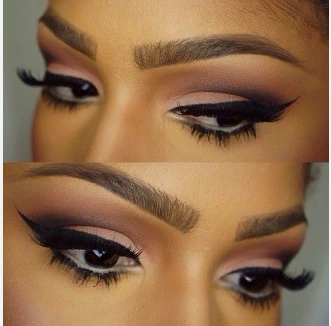
Read our guide on Smokey eyes for Beginners here.