First, What Is Cakey Makeup?
Before we get into the sculpting secrets, let’s quickly define the enemy: cakey makeup.
Cakey makeup usually means too much product layered on unevenly. It can make skin look dry, textured, or overly matte. Sometimes it happens because of incompatible products, other times because of heavy-handed application.
When it comes to contouring, cakey results are often due to:
-
Using the wrong shade or undertone
-
Applying too much product at once
-
Not blending properly (or at all)
-
Skipping skin prep (big mistake!)
Let’s change that, shall we?
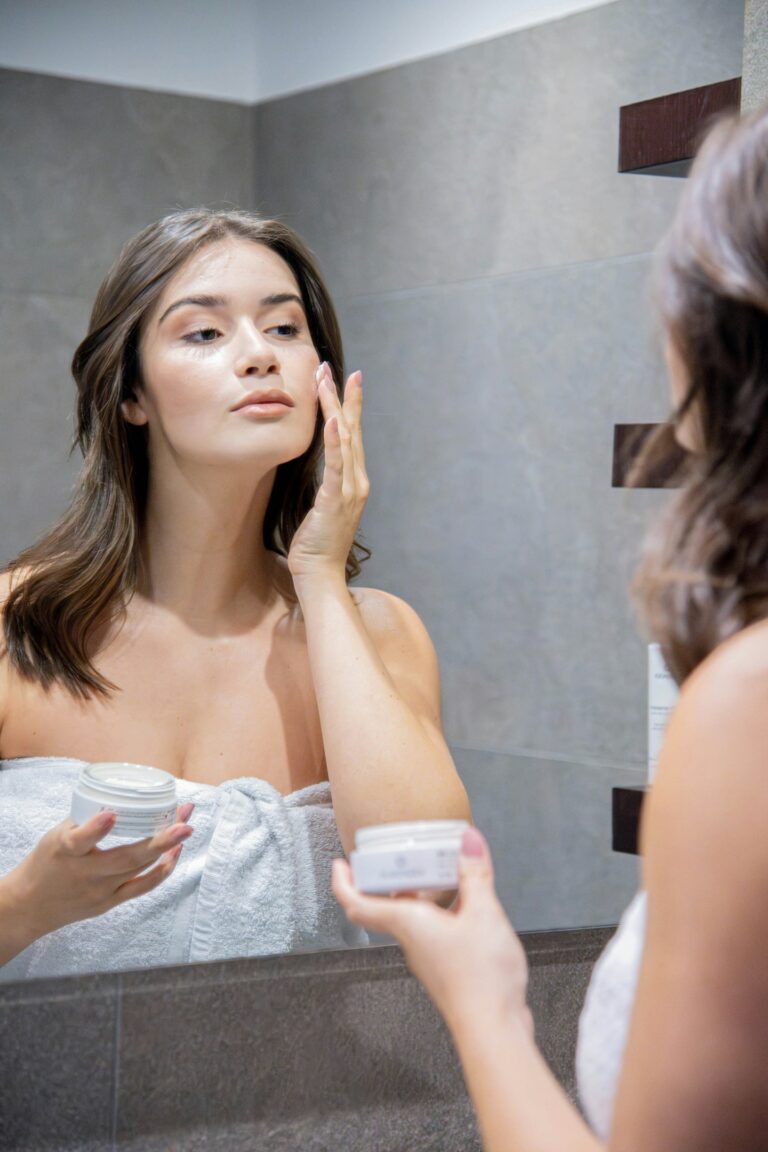
Step 1: Prep Like a Pro (Even If You’re Not One)
Good contour starts with great skin prep. You want a smooth, hydrated base so that your products melt into your skin—not sit on top of it.
Here’s your pre-contour ritual:
-
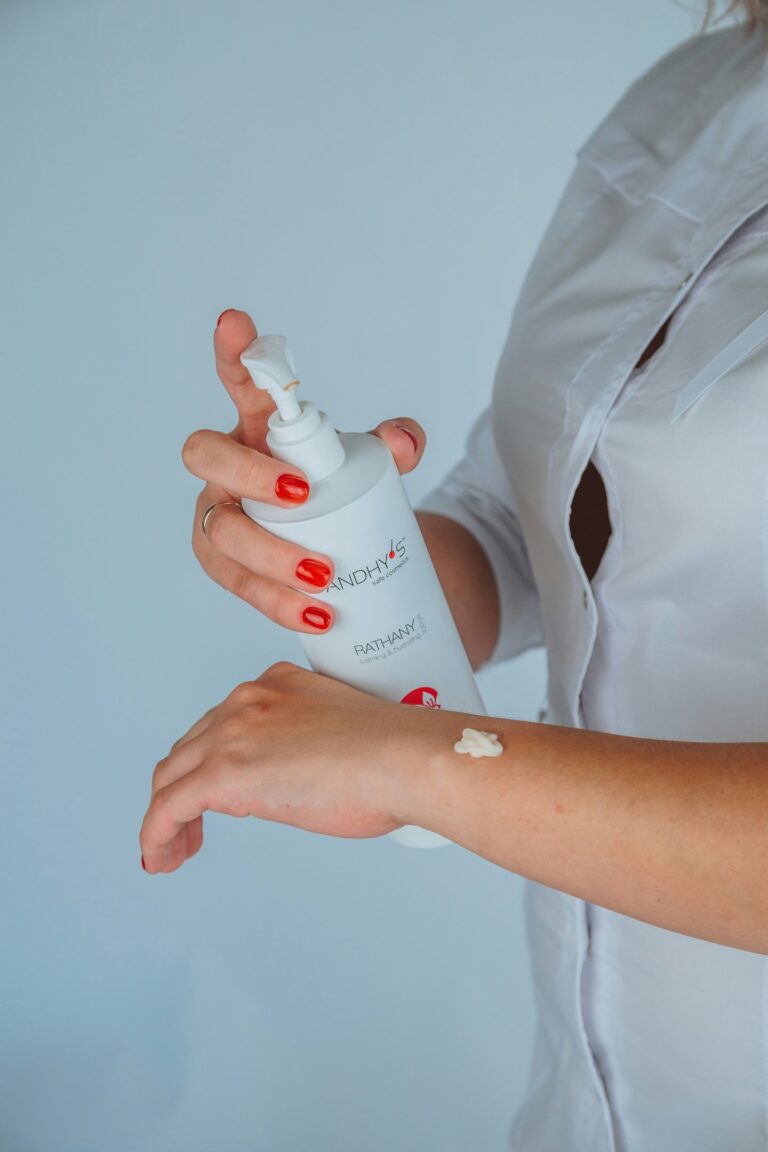
Cleanse – Start fresh. Use a gentle foaming face wash that doesn’t strip your skin.
-
Hydrate – Apply a lightweight moisturizer with hyaluronic acid to plump up the skin.
-
Prime – A grip primer (yes, those are a thing) helps makeup cling without looking heavy. Choose one based on your skin type—hydrating for dry, mattifying for oily.
Pro tip: If you have dry skin, avoid silicone-heavy primers. They can pill and accentuate texture.
Step 2: Choose the Right Contour Formula
Not all contour products are created equal. And if you want a skin-like finish, picking the right formula is crucial.
Here’s a cheat sheet:
-
Cream Contour – Ideal for dry to normal skin. Melts in beautifully for a natural finish. Try a cream contour stick with a soft, blendable formula.
-
Liquid Contour – Super lightweight and beginner-friendly. A liquid contour wand with a doe-foot applicator gives you control without excess.
-
Powder Contour – Better for oily skin or layering. Use a finely-milled contour powder over cream for a more sculpted effect.
For the most natural finish? Go with creams or liquids first. Powders can come later if you want extra definition.
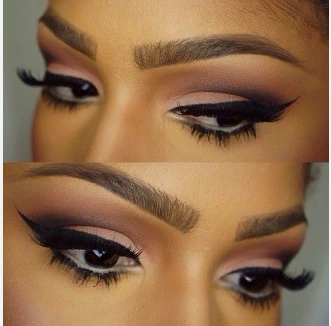
Step 3: Know Where to Contour
Contouring is about enhancing your natural bone structure—not redrawing your face.
Here’s where to focus:
-
Cheekbones – Start just above the hollow of your cheek and blend upward.
-
Jawline – Lightly define under your jaw for a lifted look.
-
Forehead – Add depth around the hairline (especially if you have a larger forehead).
-
Nose – Optional! Use a tiny angled brush and a light hand.
Avoid bringing your contour too close to the mouth or too far down your cheek. That’s what makes it look harsh or muddy.
Step 4: Blend, Blend… and Then Blend Again
This is where magic happens—and cakiness dies.
Use the right tools:
-
A dense buffing brush for cream or stick contour
-
A damp beauty sponge for liquid formulas
-
A fluffy angled brush for powder
Always blend upwards. Pulling product down can drag your features and make the face appear saggy or unstructured.
Pro tip: If you feel like you overdid it, take your foundation brush (without adding more product) and lightly go over the edges to soften the look.
Step 5: Use a Light Hand
The number one mistake people make with contouring? Applying way too much at once.
You can always build up—but removing excess once it’s blended is way harder.
Start with small dots or strokes of product. Use a mirror with good lighting so you don’t overdo it. Natural daylight is best, but a makeup mirror with LED lights works wonders too.
And remember: It’s easier to add than subtract.
Step 6: Set Strategically
If you’re using cream or liquid contour, you’ll need to set it. But we’re not talking about baking your face for 30 minutes under a pound of powder.
Here’s the minimalist approach:
-
Use a translucent setting powder only on areas that get oily or where product tends to move.
-
To set your contour without heaviness, dust a light contour powder over cream to lock it in and add definition.
-
Skip heavy baking unless you’re going for a full glam, drag-inspired beat (which is totally valid—just not cake-free).
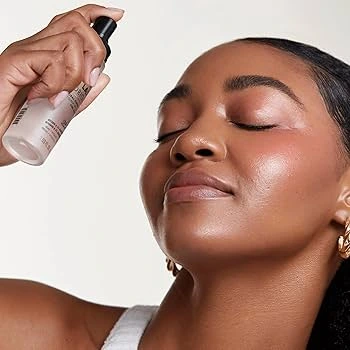
Step 7: Blend It All Together With a Setting Spray
Setting spray is the unsung hero of natural-looking contour. It melts everything together, takes away powdery texture, and gives a real-skin finish.
Look for a hydrating setting spray if your skin leans dry, or a matte finish spray if you need oil control.
Bonus move: Press in the spray with a clean sponge after misting. It helps the products mesh like second skin.
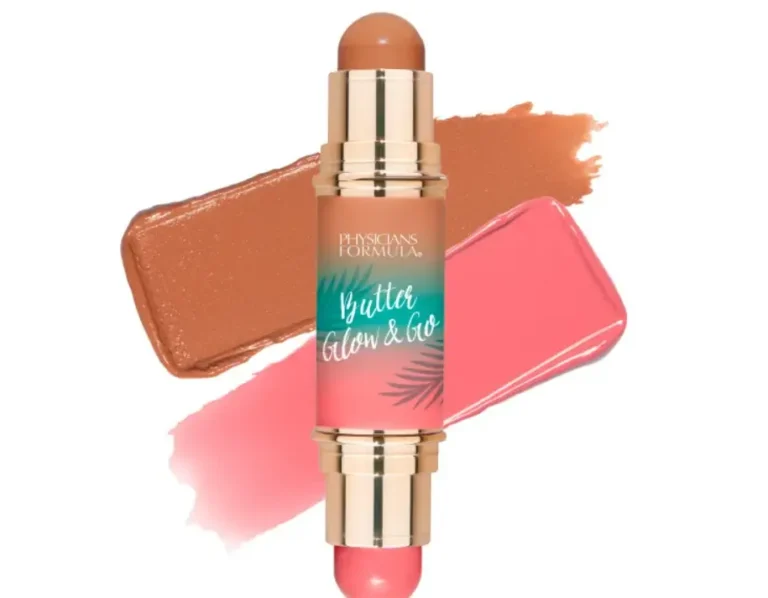
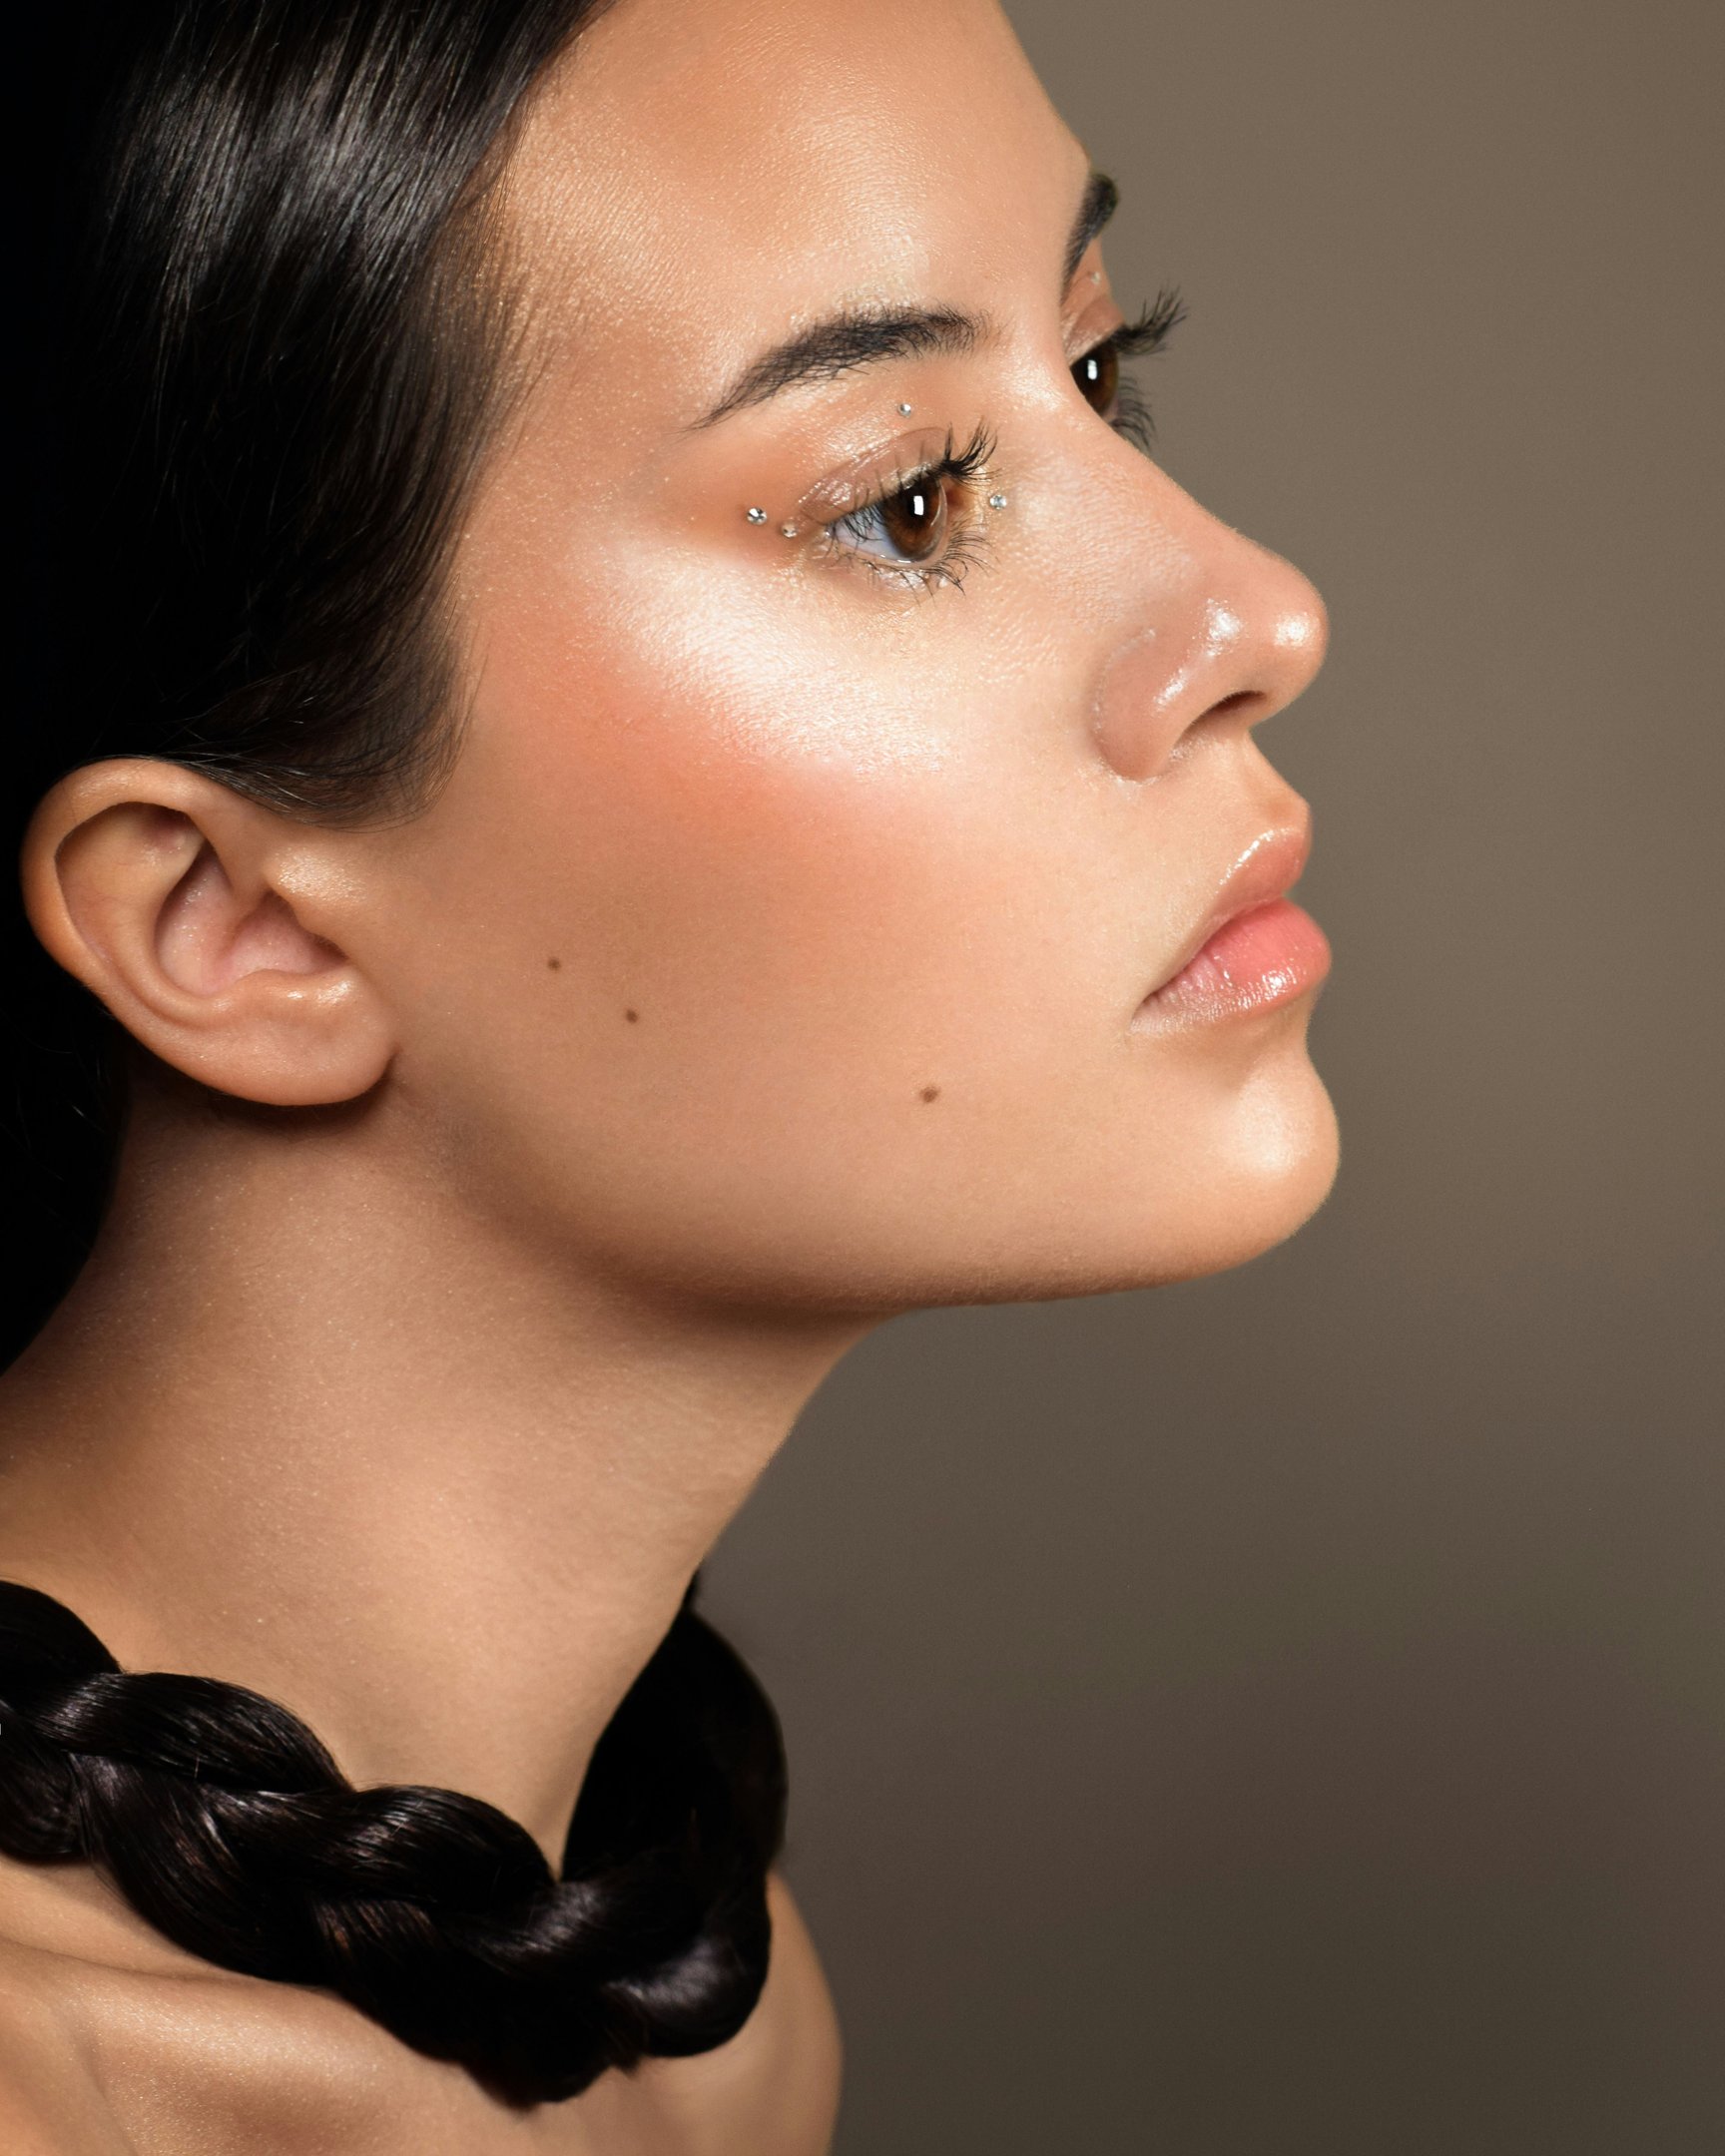
Step 8: Highlight Without the Glitter Bomb
Contouring looks best when it’s balanced with some light. But forget chunky highlighters—this isn’t 2016.
Go for a subtle glow:
-
A liquid highlighter with a natural sheen
-
A cream highlighter stick dabbed on cheekbones
-
A sheer powder highlight with fine shimmer
Apply it to the tops of the cheekbones, down the nose, and on the cupid’s bow. The glow will bring your contour to life without overwhelming it.
Bonus Tips for a Cake-Free Sculpt
-
Layer thinly. Build your look gradually, not all at once.
-
Work in sections. Apply and blend each area before moving to the next.
-
Hydrate throughout the day. Spritz a facial mist midday to refresh makeup without disturbing it.
-
Avoid mixing too many formulas. For example, cream over powder can get patchy fast.
-
Clean your brushes and sponges weekly. Product buildup = patchy, uneven application.
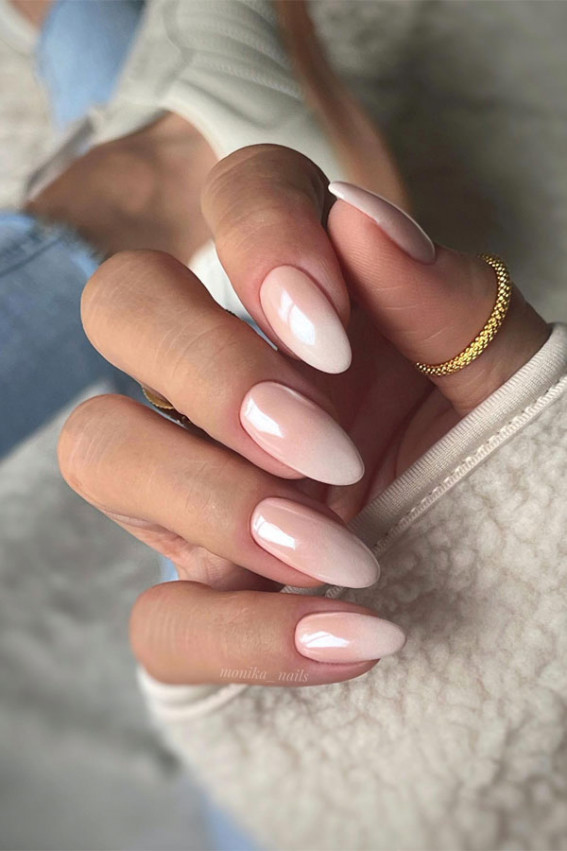
Final Thoughts: Less Cake, More Confidence
The key to natural-looking contour is treating it like an enhancement, not a mask. It should add subtle structure, not become the center of attention.
With the right products, the right tools, and a few blending tricks, you’ll sculpt your face to perfection—without falling into cakey territory.
So go ahead, grab your cream contour stick, your damp sponge, and your soft-focus highlighter. Your face is the canvas, and you? You’re the artist.
Stay glowing, stay snatched, and most importantly—stay cake-free. 🍰🚫