
What is a Nail Dehydrator?
Think of a nail dehydrator as a deep-cleaning prep solution. It removes oils, moisture, and product residue from your natural nail plate. This creates the perfect clean canvas for gel, polish, acrylic, or press-ons to stick better.
Why it’s important:
-
Nails produce natural oils that prevent products from adhering well.
-
Without dehydrating, you’re way more likely to see chipping or lifting.
You’ll use it right before applying your base coat or primer.
Try a beginner-friendly dehydrator that’s fast-drying and comes in a brush-on bottle.
What is a Nail Primer?
Once your nails are dehydrated, it’s time for the primer. Nail primer acts as a bonding agent between your natural nail and whatever product you’re applying—gel, acrylic, or builder gel.
There are two types:
-
Acid-based (better for acrylics or super oily nails)
-
Non-acid (gentler for beginners and gel manicures)
Why it matters:
-
Helps your product grip onto your nail
-
Reduces lifting, bubbling, and cracking
This low-odor, acid-free primer is perfect for first-timers and pros alike.
Do You Need Both a Dehydrator and Primer?
Short answer: Yes, if you want the best results.
-
The dehydrator removes oils and moisture
-
The primer creates a tacky layer for bonding
Using both is like using face toner and moisturizer—you need both steps for max results.
If you skip them, your gel or acrylic might not last more than a few days.
Step-by-Step: How to Use Nail Dehydrator and Primer
- Start With Clean, Dry NailsWash your hands and remove any polish. Push back your cuticles and lightly buff the nail surface with a fine buffer.
-
Use sparingly. A little goes a long way!
-
Never skip nail prep—it’s the most important part of a manicure.
-
Choose non-acid primers if you have sensitive nails or skin.
-
Always cap your polish at the tip of your nail for better seal and wear.
Apply the Nail DehydratorUse a brush-on nail dehydrator and swipe across each nail. Let it air dry for 30 seconds. Your nails will look matte—that’s normal!
Apply the Nail PrimerUse a light hand and apply a thin layer of primer. Avoid flooding the cuticles. Let it sit for about 60 seconds or until it gets tacky.
Proceed With Your ManiWhether you’re using gel polish, acrylic, or dip powder, your nails are now fully prepped for a long-lasting set!
Top Tips for Beginners:
Common Mistakes to Avoid
🚫 Applying too much primer – It won’t work better, it’ll just cause lifting.🚫 Skipping the dehydrator – Natural oils can mess with adhesion.
🚫 Touching your nails after prepping – You’ll reintroduce oils from your fingers.🚫 Mixing incompatible brands – Stick to one system if possible.
Recommended Starter Kits
Want to make it super simple? Grab a dehydrator + primer duo that’s made for beginners. Many kits include both in one bundle.
Try this highly rated combo set that’s perfect for gel nails and easy to apply.
FAQs
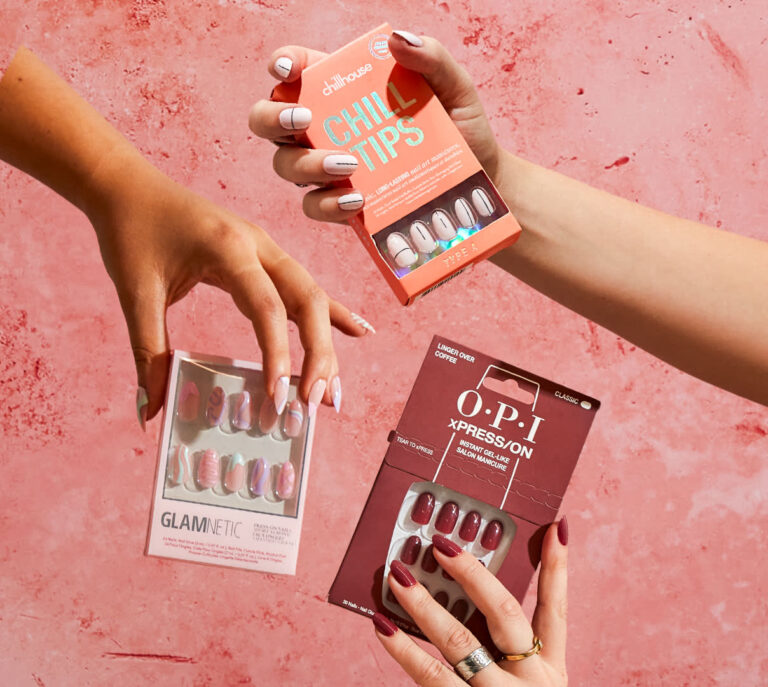
Q: Can I use rubbing alcohol instead of a dehydrator?A: You can use it in a pinch, but it’s not as effective. Alcohol removes surface oils but doesn’t dehydrate the nail plate as thoroughly.Q: Can I use primer alone?A: It’s better to use both. Primer doesn’t remove oils—it just helps with adhesion. Dehydrator handles the oils.Q: How long should I wait after applying primer?A: About 30–60 seconds, or until the nail feels slightly tacky.Q: Can I use these for press-ons?A: Yes! Prepping with dehydrator and primer helps glue or adhesive tabs stick much better and last longer.
Final Thoughts: Unlock Longer-Lasting Manis
If you’re tired of chipped polish and lifting gel, this tiny change in your routine might be your glow-up moment.
Using a nail dehydrator and primer can seriously extend the life of your manicure, protect your nails, and make everything feel way more professional—even if you’re doing it all at your desk in PJs. 😉
It’s one of those “why didn’t I do this sooner?” kind of tools.
So get yourself a quality duo, follow the prep steps, and get ready to enjoy stronger, longer-lasting nails from home. 💅