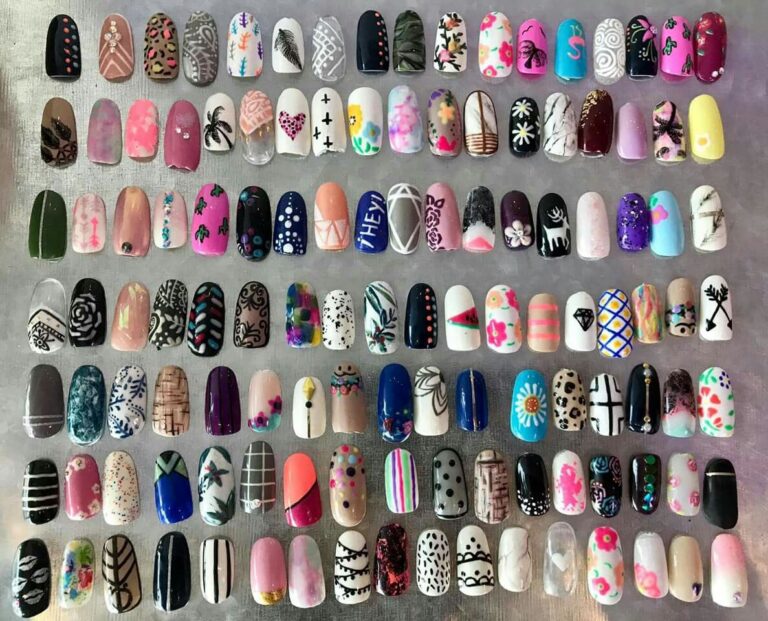
Why Try Marble Nails?
Marble nails are the perfect mix of elegant and creative. Inspired by the natural swirls of marble stone, these nails feature blended, rippling patterns that look high-end but are surprisingly simple to recreate with the right technique. You don’t need a professional nail kit or a huge budget—just some patience and a few inexpensive tools.
Some benefits of trying DIY marble nails include:
-
Cost-saving: Salon marble manicures can cost $30–$80+.
-
Creativity: You get to play with color combos, textures, and patterns.
-
Customizable: Make it subtle or bold, pastel or dark.
-
Therapeutic: Nail art can be a relaxing and rewarding hobby.
Ready to dive in? Let’s talk tools.
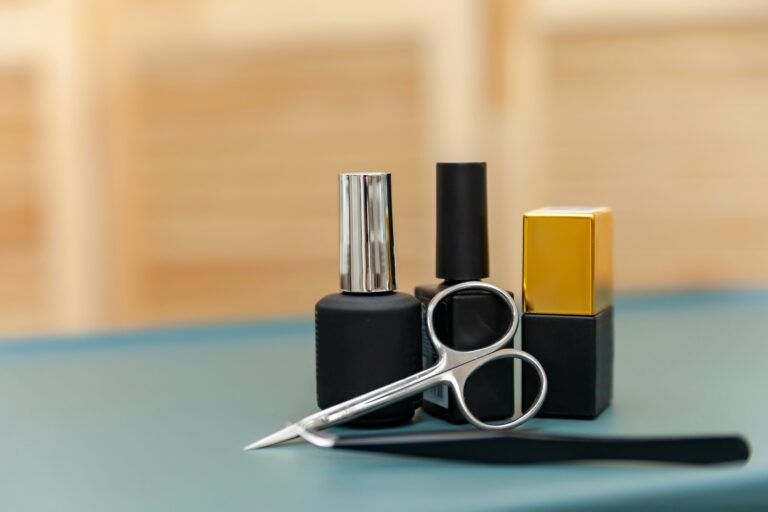
Tools You’ll Need
To get started, here’s everything you’ll need to create beautiful DIY marble nails:
1. DRMODE Liquid Latex for Nails – Peel-Off BarrierBuy on AmazonProtect your cuticles and surrounding skin from the polish mess. This latex barrier makes cleanup super easy and professional-looking.2. 5-Piece Nail Dotting Tool SetBuy on AmazonEssential for swirling and shaping your marble designs. These tools are affordable, beginner-friendly, and multi-purpose.3. Artdone Nail Art Brush & Dotting Kit (31 pcs)Buy on AmazonIf you’re feeling extra artistic, this set includes brushes for more detailed nail art. It’s great for layering or adding veining to the marble look.4. Modelones Gel Nail Polish Set – 6 ColorsBuy on AmazonA top-rated gel polish set with gorgeous, blendable colors. The range includes pastels, neutrals, and vivid tones—perfect for marble effects.5. Beetles No-Wipe Gel Top CoatBuy on AmazonGives your final design that ultra-shiny, sealed-in finish. It’s durable, long-lasting, and looks like a professional topcoat.
Step-by-Step Tutorial: How to Do Marble Nails at Home
Let’s get to the fun part! Here’s how you can create your own marble masterpiece in under an hour.
1. Prep Your Nails
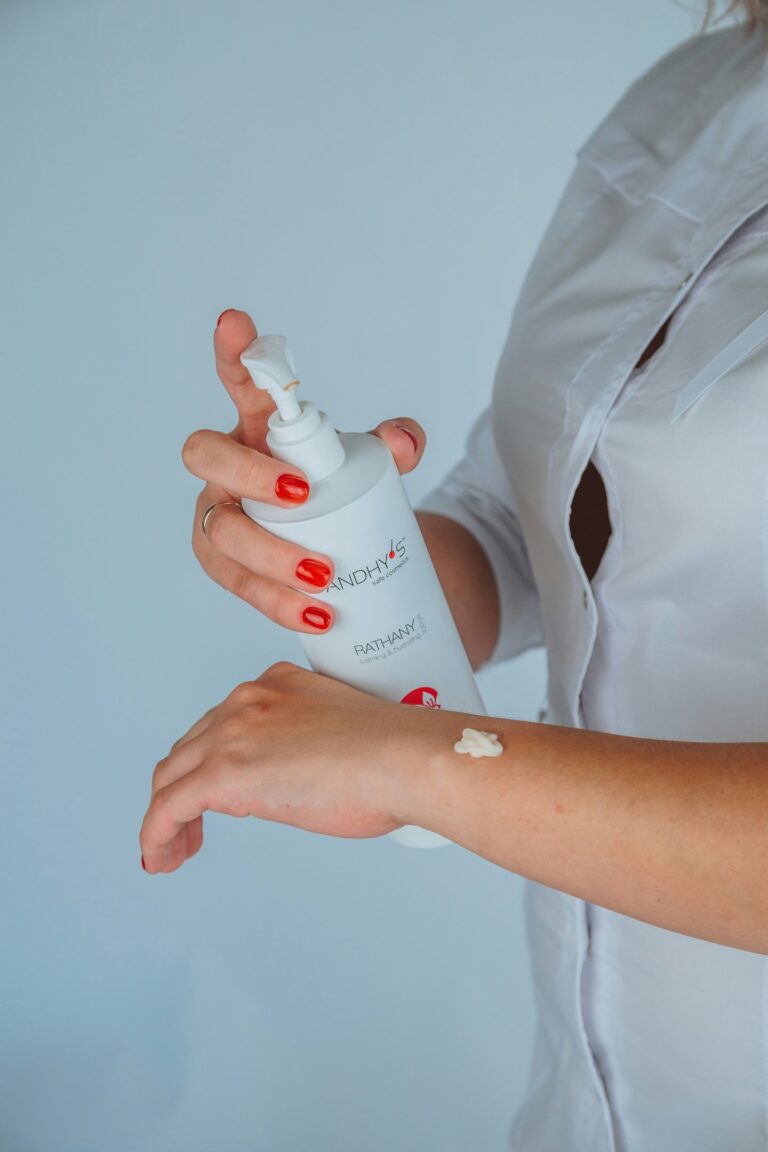
Start with clean, filed nails. Push back your cuticles and lightly buff the nail surface. This helps your polish adhere better and last longer. Apply a base coat (clear or white works best) and let it dry completely.
2. Apply the Liquid Latex Barrier
Next, apply the DRMODE Liquid Latex around the nail to protect your skin from polish. This product is a lifesaver—especially when you’re dipping your nails or using lots of polish.
3. Fill a Cup with Room-Temperature Water
Use a disposable cup and fill it with clean, room-temp water. The temperature matters—a lot. Too cold, and the polish will sink; too hot, and it won’t spread well.
4. Drop in Your Nail Polish
Now comes the magic! Using two or three shades from the Modelones Gel Set, drop one drop of polish into the center of the water. It should spread out into a ring. Then drop a different color inside that ring, and repeat 5–6 times, alternating colors.
5. Create Your Swirl Pattern
Take a toothpick or your dotting tool and gently swirl the polish to create a marble pattern. You can drag in different directions or make spirals—experiment and see what you like!
6. Dip Your Nail
Slowly dip one finger into the water, aiming for the best part of the swirl. Hold your finger under the surface and use a Q-tip to clean up excess polish on top of the water. Then lift your nail out. Carefully peel off the liquid latex, and voila—marble magic!
7. Clean Up and Repeat
Use a cotton swab dipped in polish remover to clean up any stray polish. Then repeat for all nails.
8. Seal It In with Top Coat
Finish off your design with the Beetles No-Wipe Gel Top Coat. This gives your nails that glossy, salon-quality finish and protects the art from chipping.
Pro Tips for Better Marble Nails
-
Use light colors first: They spread better and make the marble effect more visible.
-
Don’t over-swish: Too much swirling ruins the marble look.
-
Try different tools: Dotting tools give tighter lines; brushes make feathered patterns.
-
Test on one nail first: Get the hang of it before diving in.
-
Have fun with color: Try rose gold and blush, black and white, or nude and lavender!
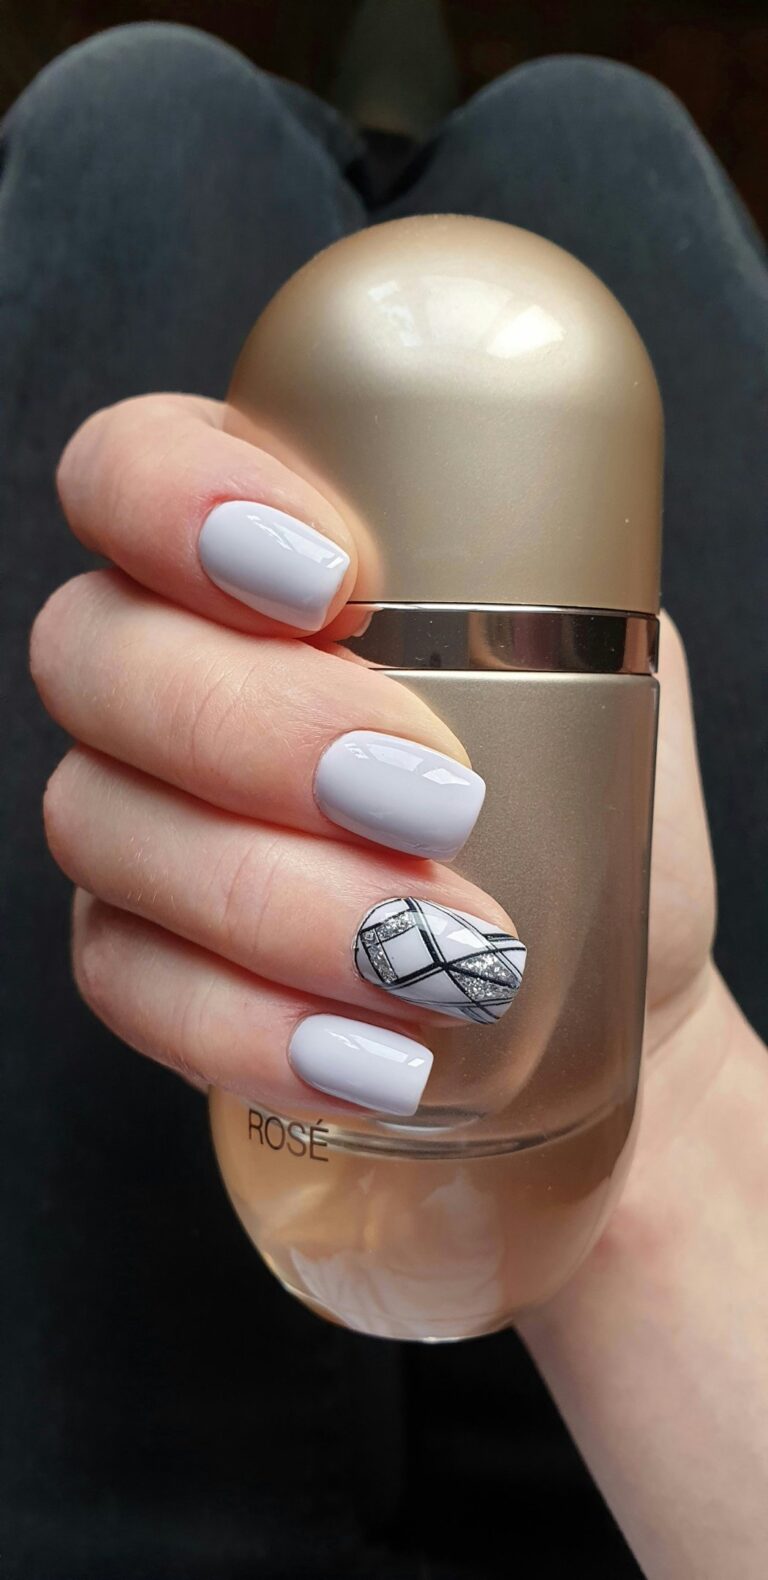
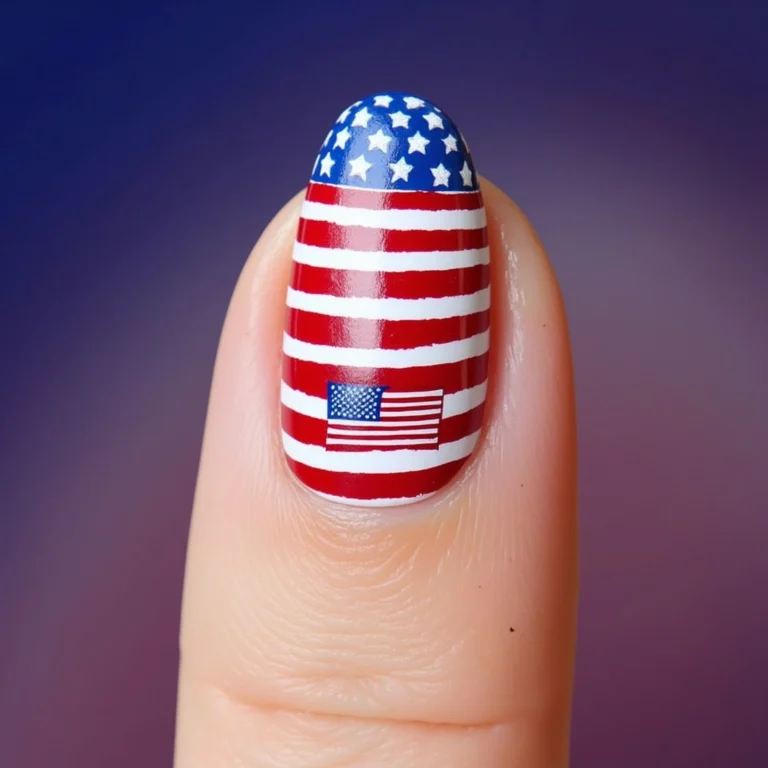
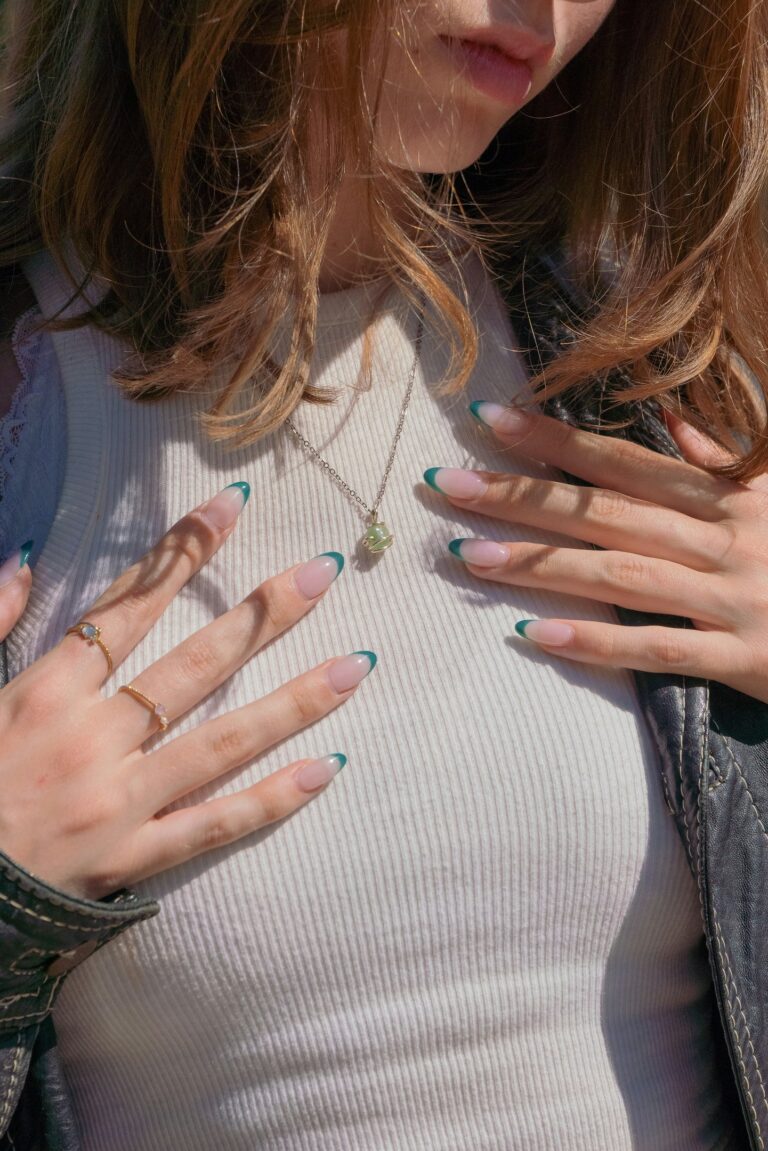
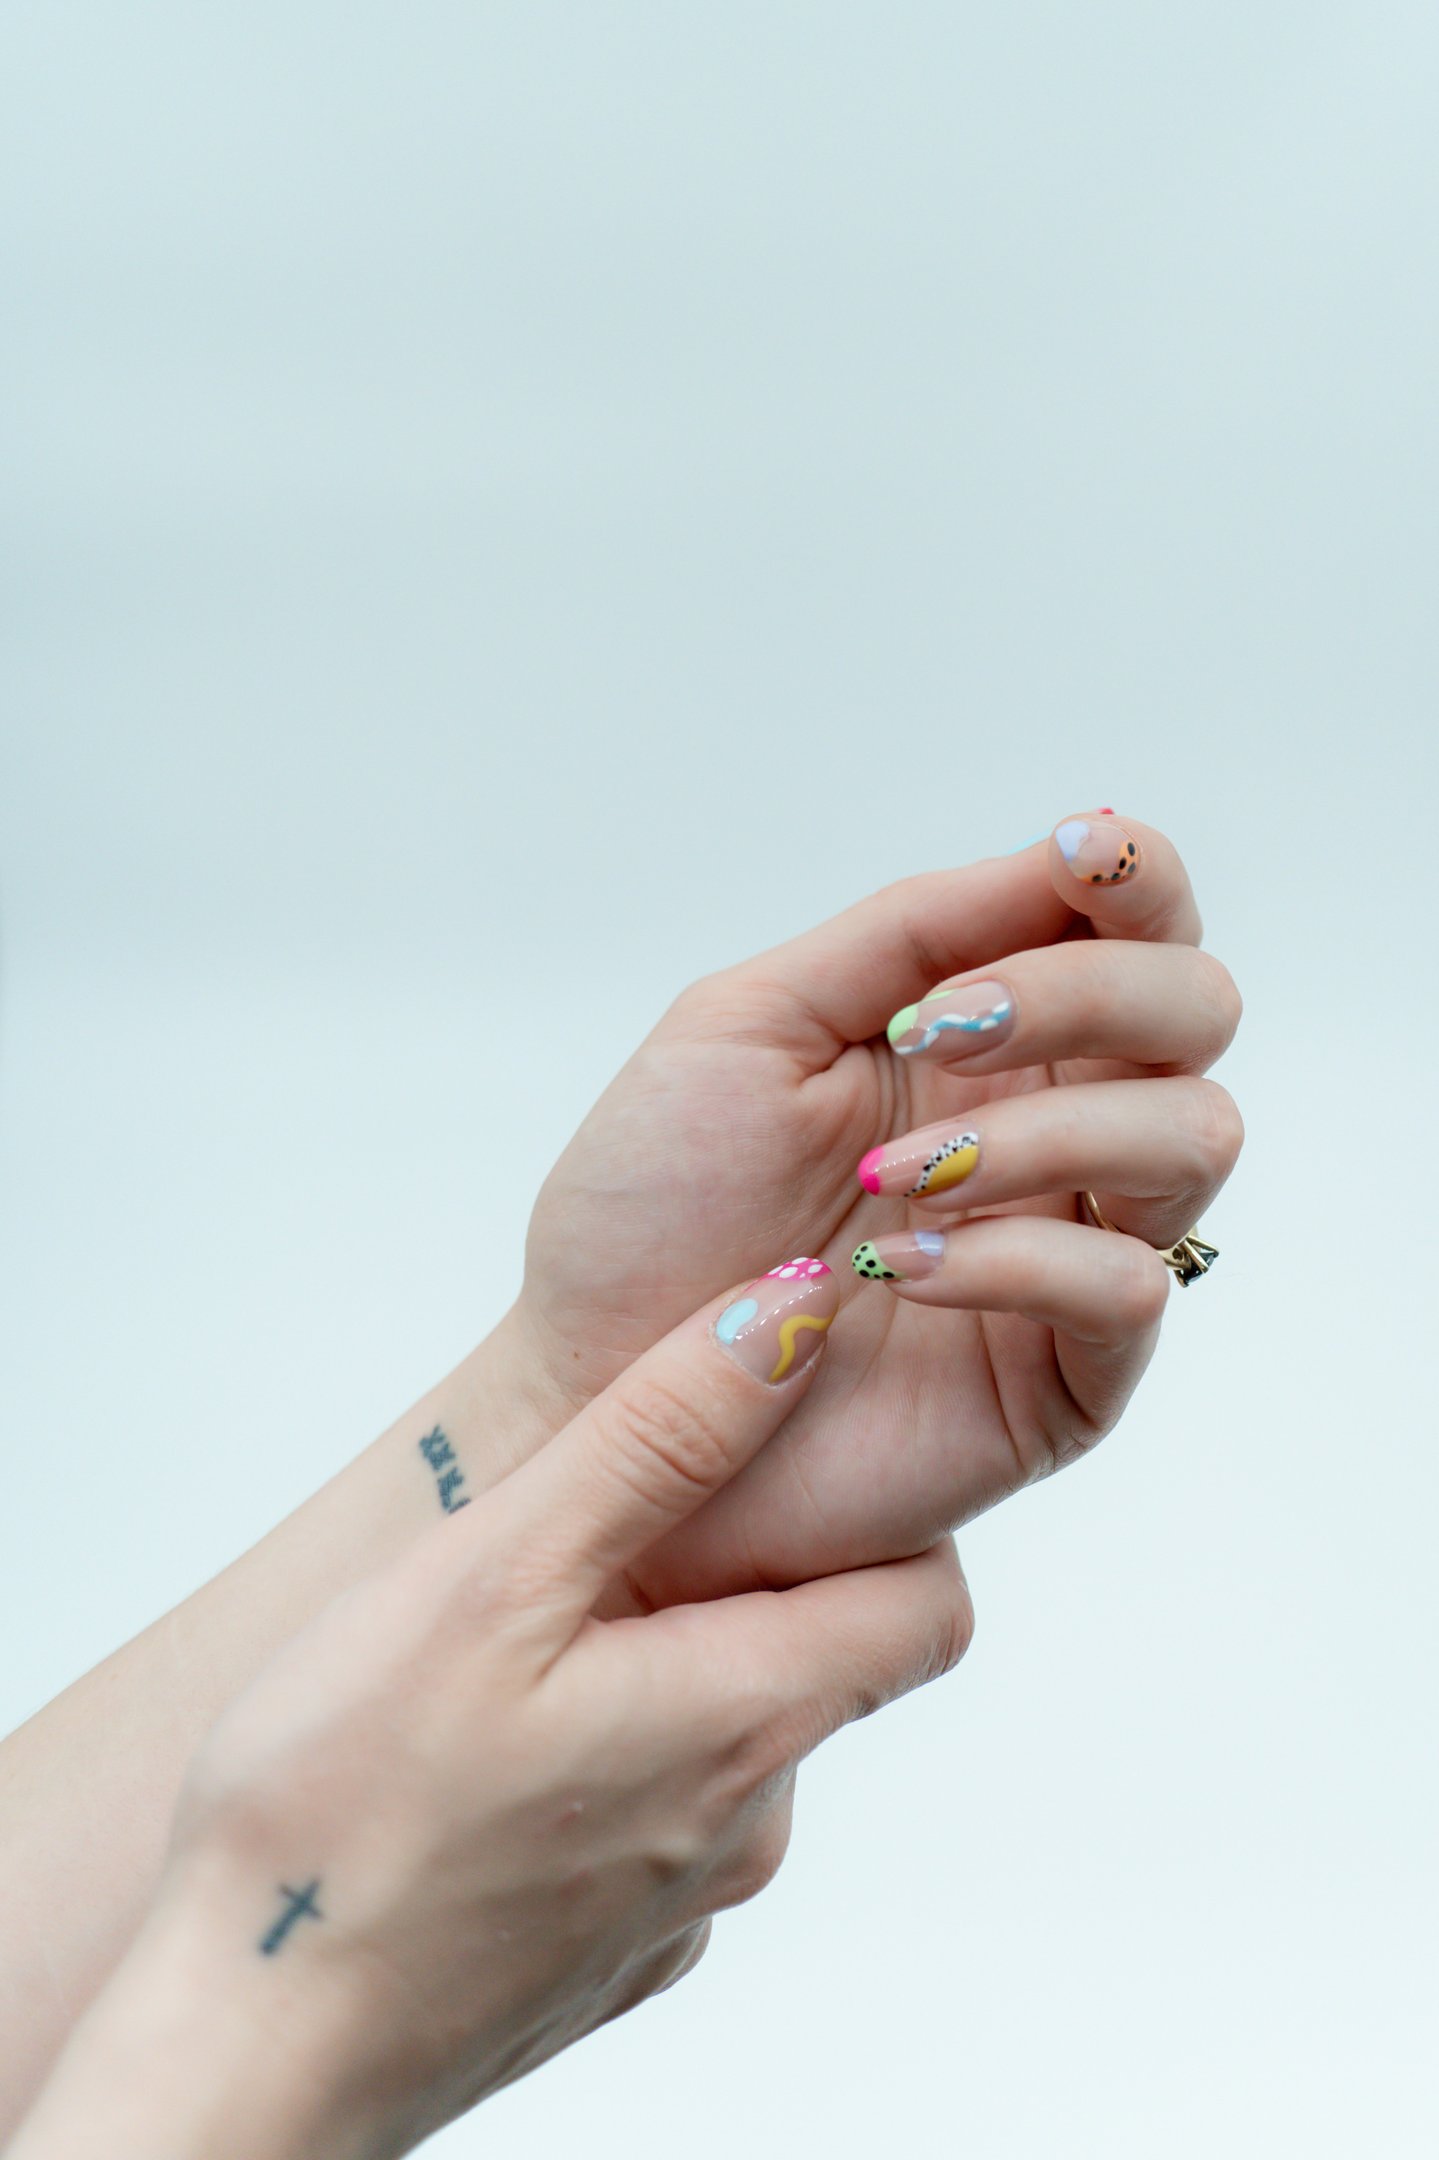
Final Look: Chic & Swirly
Elegant, wearable, and totally doable at home.
FemmeGlow Favorites Recap
Here’s your quick shopping list again:
-
DRMODE Liquid Latex – For easy cleanup.
-
Dotting Tool Set – To create beautiful swirls.
-
Artdone Brush & Tool Set – For extra detail.
-
Modelones Gel Polish Set – A dreamy, versatile polish set.
-
Beetles Top Coat – For long-lasting, glossy nails.
Wrap Up: Show Off Your DIY Nails
Creating marble nails at home is not only fun and creative, but also empowering. You get the beauty of a professional mani without the cost—and you can switch up the colors, patterns, and finishes every time.
Planning a nail night soon? Bookmark this blog, grab your Amazon goodies, and give it a go. And don’t forget to tag us on Instagram @femmeglowdaily so we can repost your look!
Stay glowing, Team FemmeGlow Daily