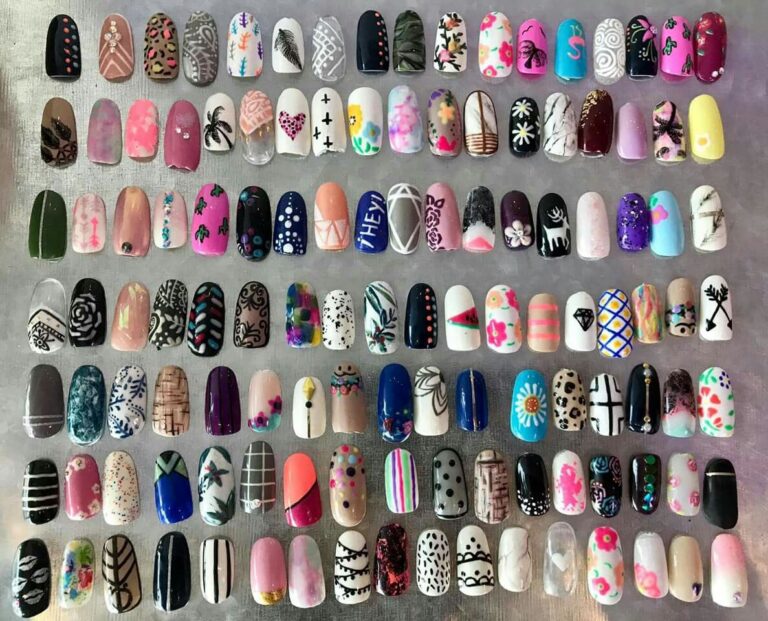
🌸 Spring: Floral & Fresh Vibes
Spring nails are all about light colors, playful flowers, and soft details.
1. Daisy Dot Nails
Start with a pastel lavender or mint base. Then use a dotting tool or toothpick to create small white petals and a yellow center. Cute, easy, and blooming with spring energy.
✨ Use a nail dotting tool set to make flower designs faster and neater.
2. Color-Blocked Pastels
Paint each nail a different soft shade — think pink, blue, peach, lilac, and butter yellow. It’s minimal effort with maximum spring aesthetic.
✨ Try a pastel nail polish pack for a ready-made rainbow.
☀️ Summer: Bright, Bold, and Beachy
Summer is for statement colors and fun patterns — think fruit, waves, and sparkle.
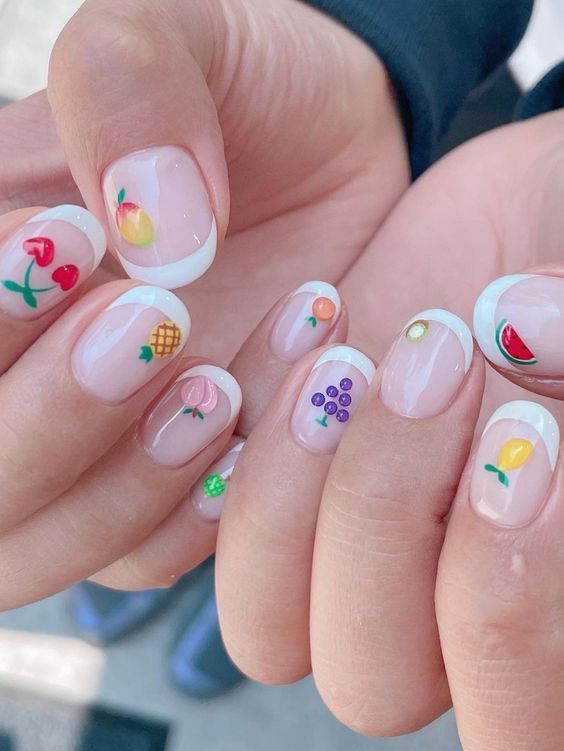
1. Citrus Slice Nails
Paint a few nails in lemon yellow or lime green, then add tiny citrus slice decals or hand-painted circles with white details.
✨ A nail sticker sheet with fruit designs makes this super easy.
2. Beachy Ombré
Use a makeup sponge to blend turquoise into light blue for a wave-inspired gradient. Top with shimmer polish for a sunlit water effect.
✨ Grab a sponge nail gradient kit for smooth color transitions.
🍂 Fall: Cozy Tones and Leafy Vibes
Think warm colors, soft textures, and the occasional spooky touch.
1. Sweater Nails (Texture Magic!)
Use a nude gel base, then draw small sweater-like lines or cable-knit patterns with a detail brush. You’ll need a matte top coat to complete the cozy vibe.
✨ A fine nail art brush set helps with these delicate patterns.
2. Falling Leaves Accent
Use a rich base like burnt orange or moss green, then draw mini leaf shapes or apply leaf-shaped nail stickers on accent nails.
✨ Stock up on a fall-themed nail decal pack for leaf, pumpkin, and plaid prints.
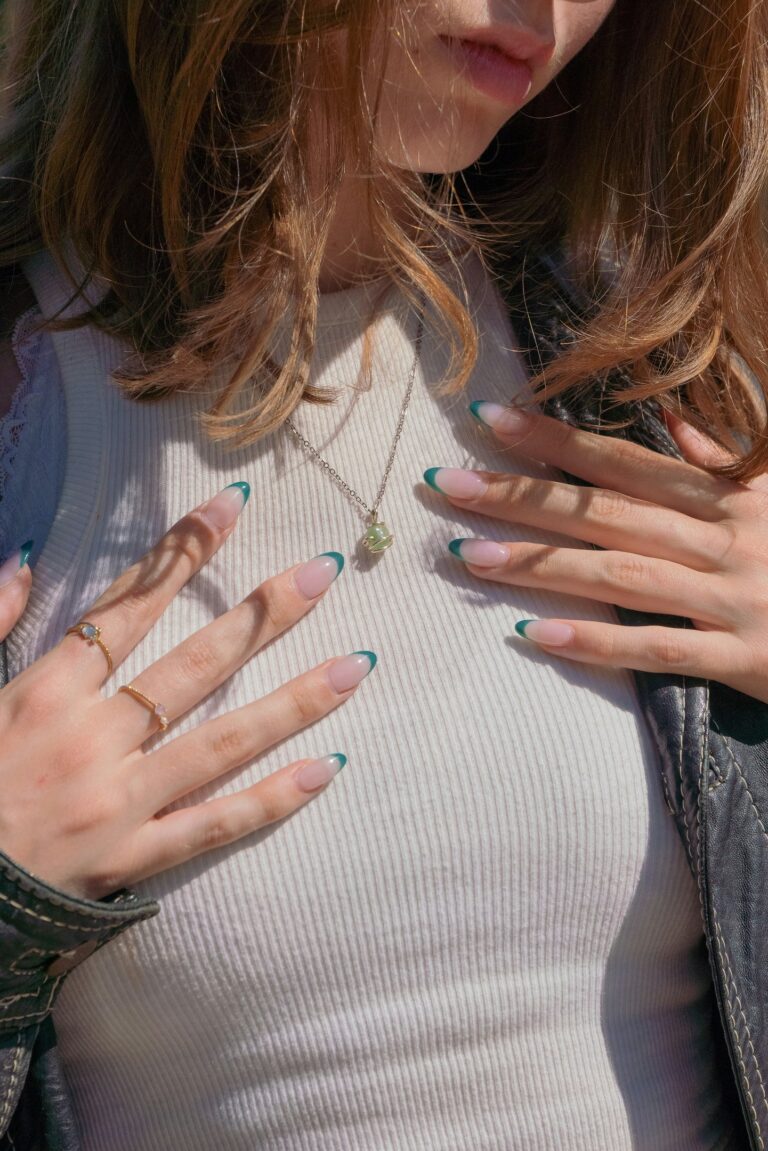
❄️ Winter: Chill, Classy & Sparkly
Winter nails range from icy elegance to festive fun. Bring on the glitter and snowflakes!
1. Snowflake Sparkle
Use a frosty blue or white base, and add snowflake stickers or hand-drawn shapes using a white nail art pen. Add a sprinkle of silver glitter for frosty magic.
✨ A nail art stamping kit with snowflake patterns makes this a breeze.
2. Candy Cane Stripes
Paint your nails bright red or white, and use a striping brush or tape to add diagonal stripes in the opposite color.
✨ A striping brush kit is your BFF here for clean, festive lines.
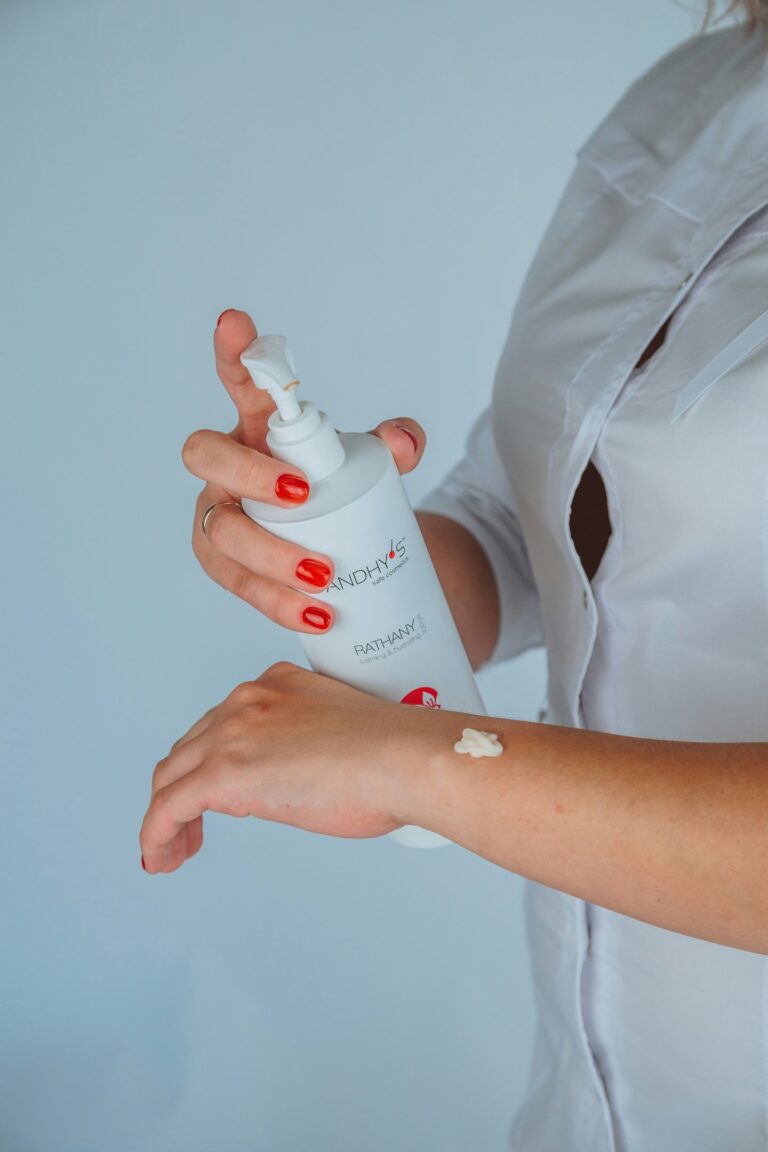
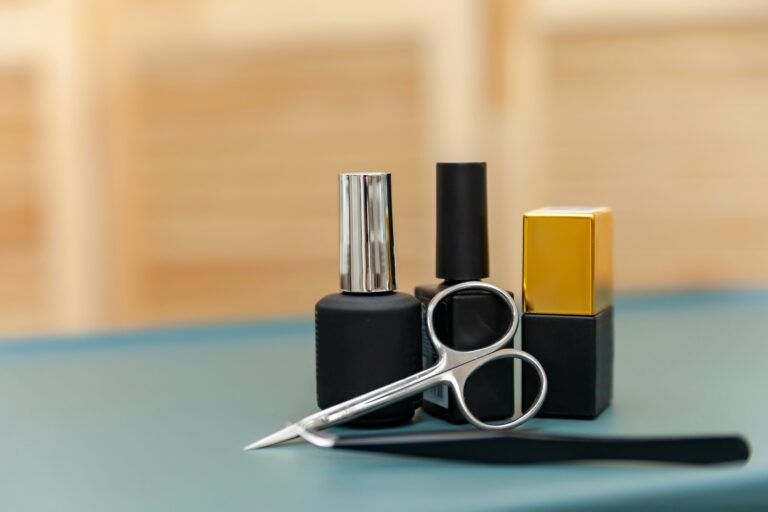
🧴 Don’t Skip Nail Care!
Whether you’re painting flowers or snowflakes, good nail care is key to making any design pop.
-
Always start with a base coat to protect your nails.
-
Moisturize with cuticle oil daily to avoid dryness (especially in winter!).
-
Use a fast-dry top coat to keep your designs chip-free longer.
✨ Keep a nail care kit nearby so your hands stay healthy and your mani stays fresh.
💡 Quick Tips for Nail DIY Success:
-
Practice on one nail first. Start small — get the hang of the design before committing to all ten fingers.
-
Use tools like stickers and decals. No shame in the shortcut game!
-
Don’t overload your brush. Less polish = more control and cleaner lines.
-
Clean up is your best friend. A tiny brush dipped in remover can fix almost any mistake.
🎨 Final Thoughts: Match Your Mani to the Mood
You don’t need a new wardrobe to switch up your style — just your nails. Whether you’re sipping iced coffee in July or lighting candles in December, there’s always a cute, seasonal look to try.
So grab your favorite polish colors, set the seasonal mood (maybe even with a themed playlist?), and start painting! You’ll be amazed at what you can pull off with a few basic tools, a steady hand, and a little seasonal inspo. 🍁❄️🌸☀️