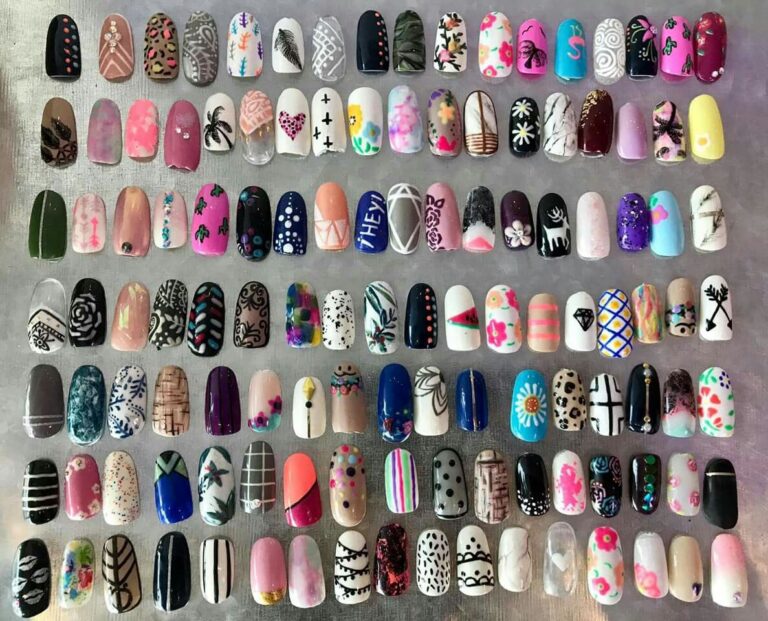
🌸 1. Polka Dot Cuties
Polka dots are basically the easiest nail art ever — no skills required. They’re cute, versatile, and go with literally any color combo.
How to Do It:
-
Paint your nails with a solid base color.
-
Use a dotting tool (or the end of a bobby pin) to add small dots in another shade.
-
You can do random dots or line them up — both look great!
-
Seal with a top coat for a smooth finish.
✨ Try using a dotting tool kit that comes in different sizes to vary your dot game.
🌈 2. The Skittle Mani
This isn’t a design exactly — but it’s one of the easiest trends ever. Just paint each nail a different color. That’s it!
How to Do It:
-
Pick 5 different polish colors (from the same tone family or mix-and-match brights).
-
Paint each nail a different shade.
-
Optional: Top with a matte finish for a chic twist.
✨ Use a pastel nail polish set or a neon polish pack to get a whole rainbow ready to go.
💖 3. Half Moon Highlight
The half-moon design is simple, elegant, and surprisingly beginner-friendly.
How to Do It:
-
Use a round sticker (like paper hole reinforcers!) at the base of each nail.
-
Paint over the sticker with your main color.
-
Peel off the sticker once the polish is dry, and voila — chic half-moons!
-
Finish with a top coat for that salon shine.
✨ You can get pre-cut nail vinyls to make this even easier and cleaner.
🌿 4. Tiny Accent Hearts
This one’s cute, romantic, and perfect for date nights — or just loving yourself.
How to Do It:
-
Start with a neutral or pastel base color.
-
Use a toothpick or a tiny dotting tool to make two dots close together.
-
Drag the dots downward into a point to create a heart shape.
-
Keep it minimal: one heart per nail or just on accent nails.
✨ A micro nail brush set can make these tiny shapes feel effortless.
✨ 5. Glitter Fade
A glitter gradient looks like you tried way harder than you actually did.
How to Do It:
-
Paint your nails with a solid color base (white, pink, or nude works best).
-
Dab glitter polish on a sponge, then tap it gently onto the tips of your nails.
-
Build the glitter downward slightly to create that fading effect.
-
Add a clear coat for shine and to smooth out texture.
✨ Use a chunky glitter polish for a bolder look or a fine shimmer polish for something softer.
💅 Pro Tips for At-Home Nail Success
Even the easiest designs can go wrong if your setup isn’t solid. Here are a few beginner must-knows:
1. Always Use a Base Coat
It keeps your natural nails from staining and helps polish stick better.
2. Clean Up the Edges
Dip a thin brush in nail polish remover and clean around the cuticle for that pro look.
3. Dry Between Layers
Don’t rush it! Give each layer a minute or two to dry to avoid smudges and bubbles.
4. Finish With a Top Coat
It’s the difference between “meh” and “wow.” A good top coat adds shine, smoothness, and extra wear time.
✨ Try a quick-dry top coat if you’re always on the go (or just impatient).
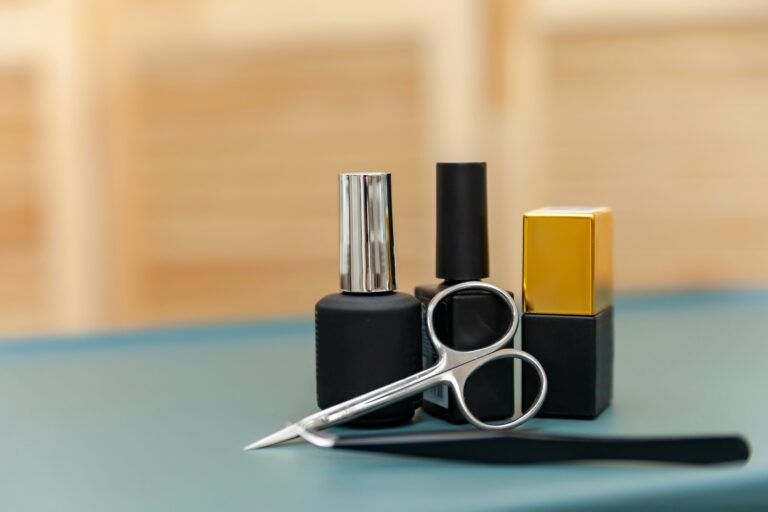
🧴 Must-Have Tools to Build Your Beginner Nail Kit
If you’re new to DIY nails, don’t overbuy. Here’s a short list of things worth investing in:
-
Dotting tools (bobby pins also work)
-
Cuticle oil for that healthy glow
✨ Grab a starter nail art kit that includes the basics — it’ll save time and money.
💬 Final Thoughts: Keep It Simple, Keep It Cute
You don’t have to go wild with rhinestones and sculpting gel to have fun with your nails. Sometimes, a simple dot or splash of color is all it takes to make you feel like that girl.
Start with one design, play around, and let your creativity grow. The best part about DIY nails? If you mess up, you can wipe it off and start again. Easy.
So go ahead — grab that cute polish set, put on your favorite playlist, and turn your next chill night in into a mini nail salon experience. 💅💖